The Bevington VI

Leave a comment

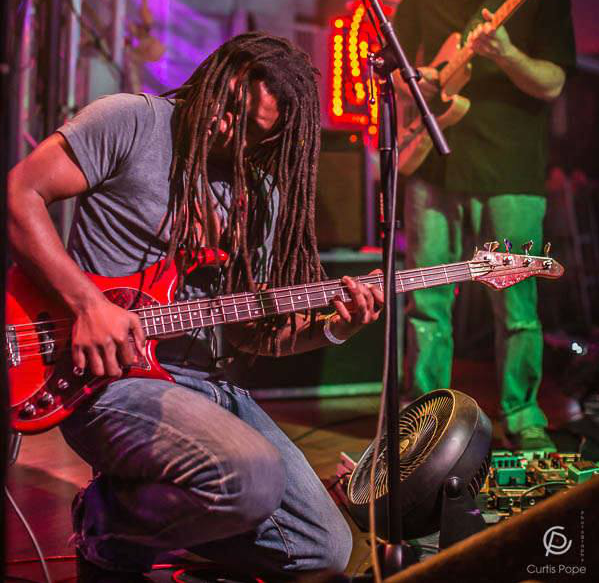
Brad and I have been friends since Ms. Arons art class in 7th grade.  That was almost 25 years ago!  The two us and a handful of other friends have played lots of music together throughout the years.  Not just play music, but we’ve all gone through so much in life together.  You don’t hang out with someone for 25 years and not have some wild adventures!  Brad is primarily a bass player, but he also has a penchant for guitar, uke, drums and synthesizers. 

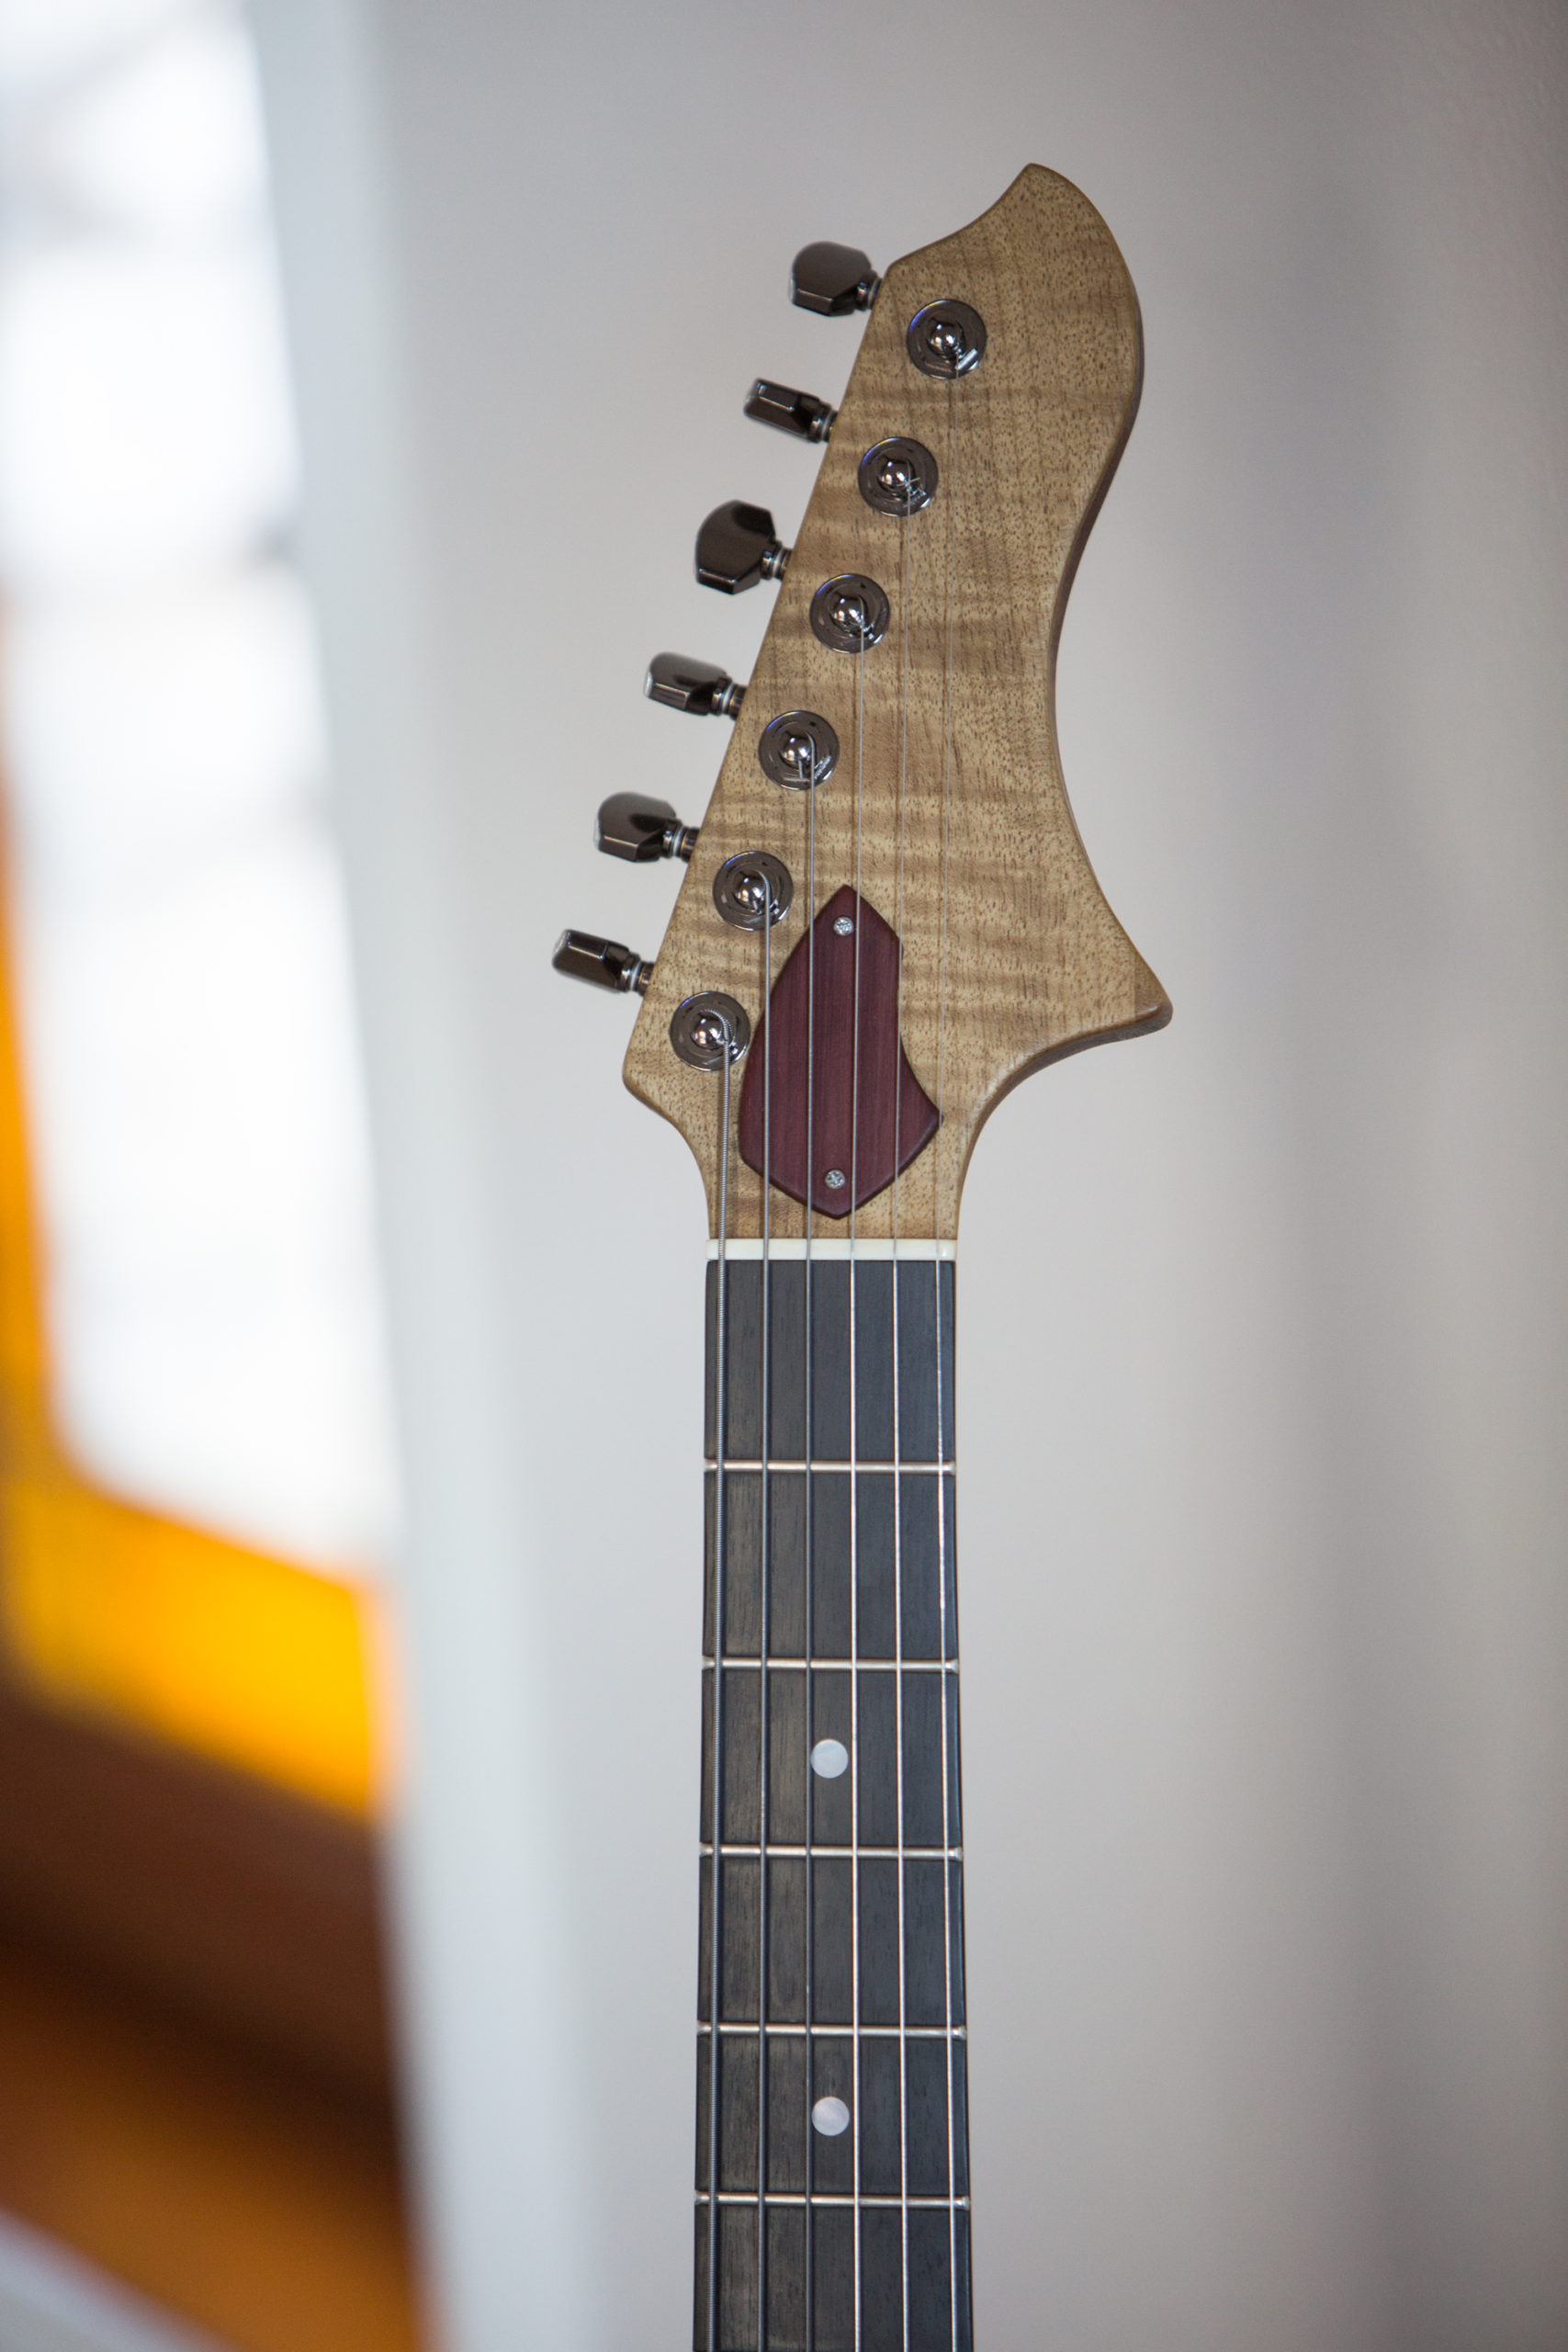
A while back he got on a Fender Bass VI kick.  He asked if I could make him one, but he doesn’t really want a “Fender” Bass VI.  He wants whatever my crazy mind comes up with.  With this particular project he gave me complete creative control,  The only question I asked was, “is there was anything he was into lately?”  He answered with “triangles” which was a perfect answer.  I asked my question so I could get a starting point for whatever inlay was going to end up on his guitar.  Triangles it is!

The only spec I kept from Fender’s design  is the scale length, 30”.  The nut width and last fret width on the Fender I knew were going to be too narrow.  Brad mostly plays bass and a 5 string at that; with plenty of room from string to string.  So I knew from the start that I want the to measurements wider.  

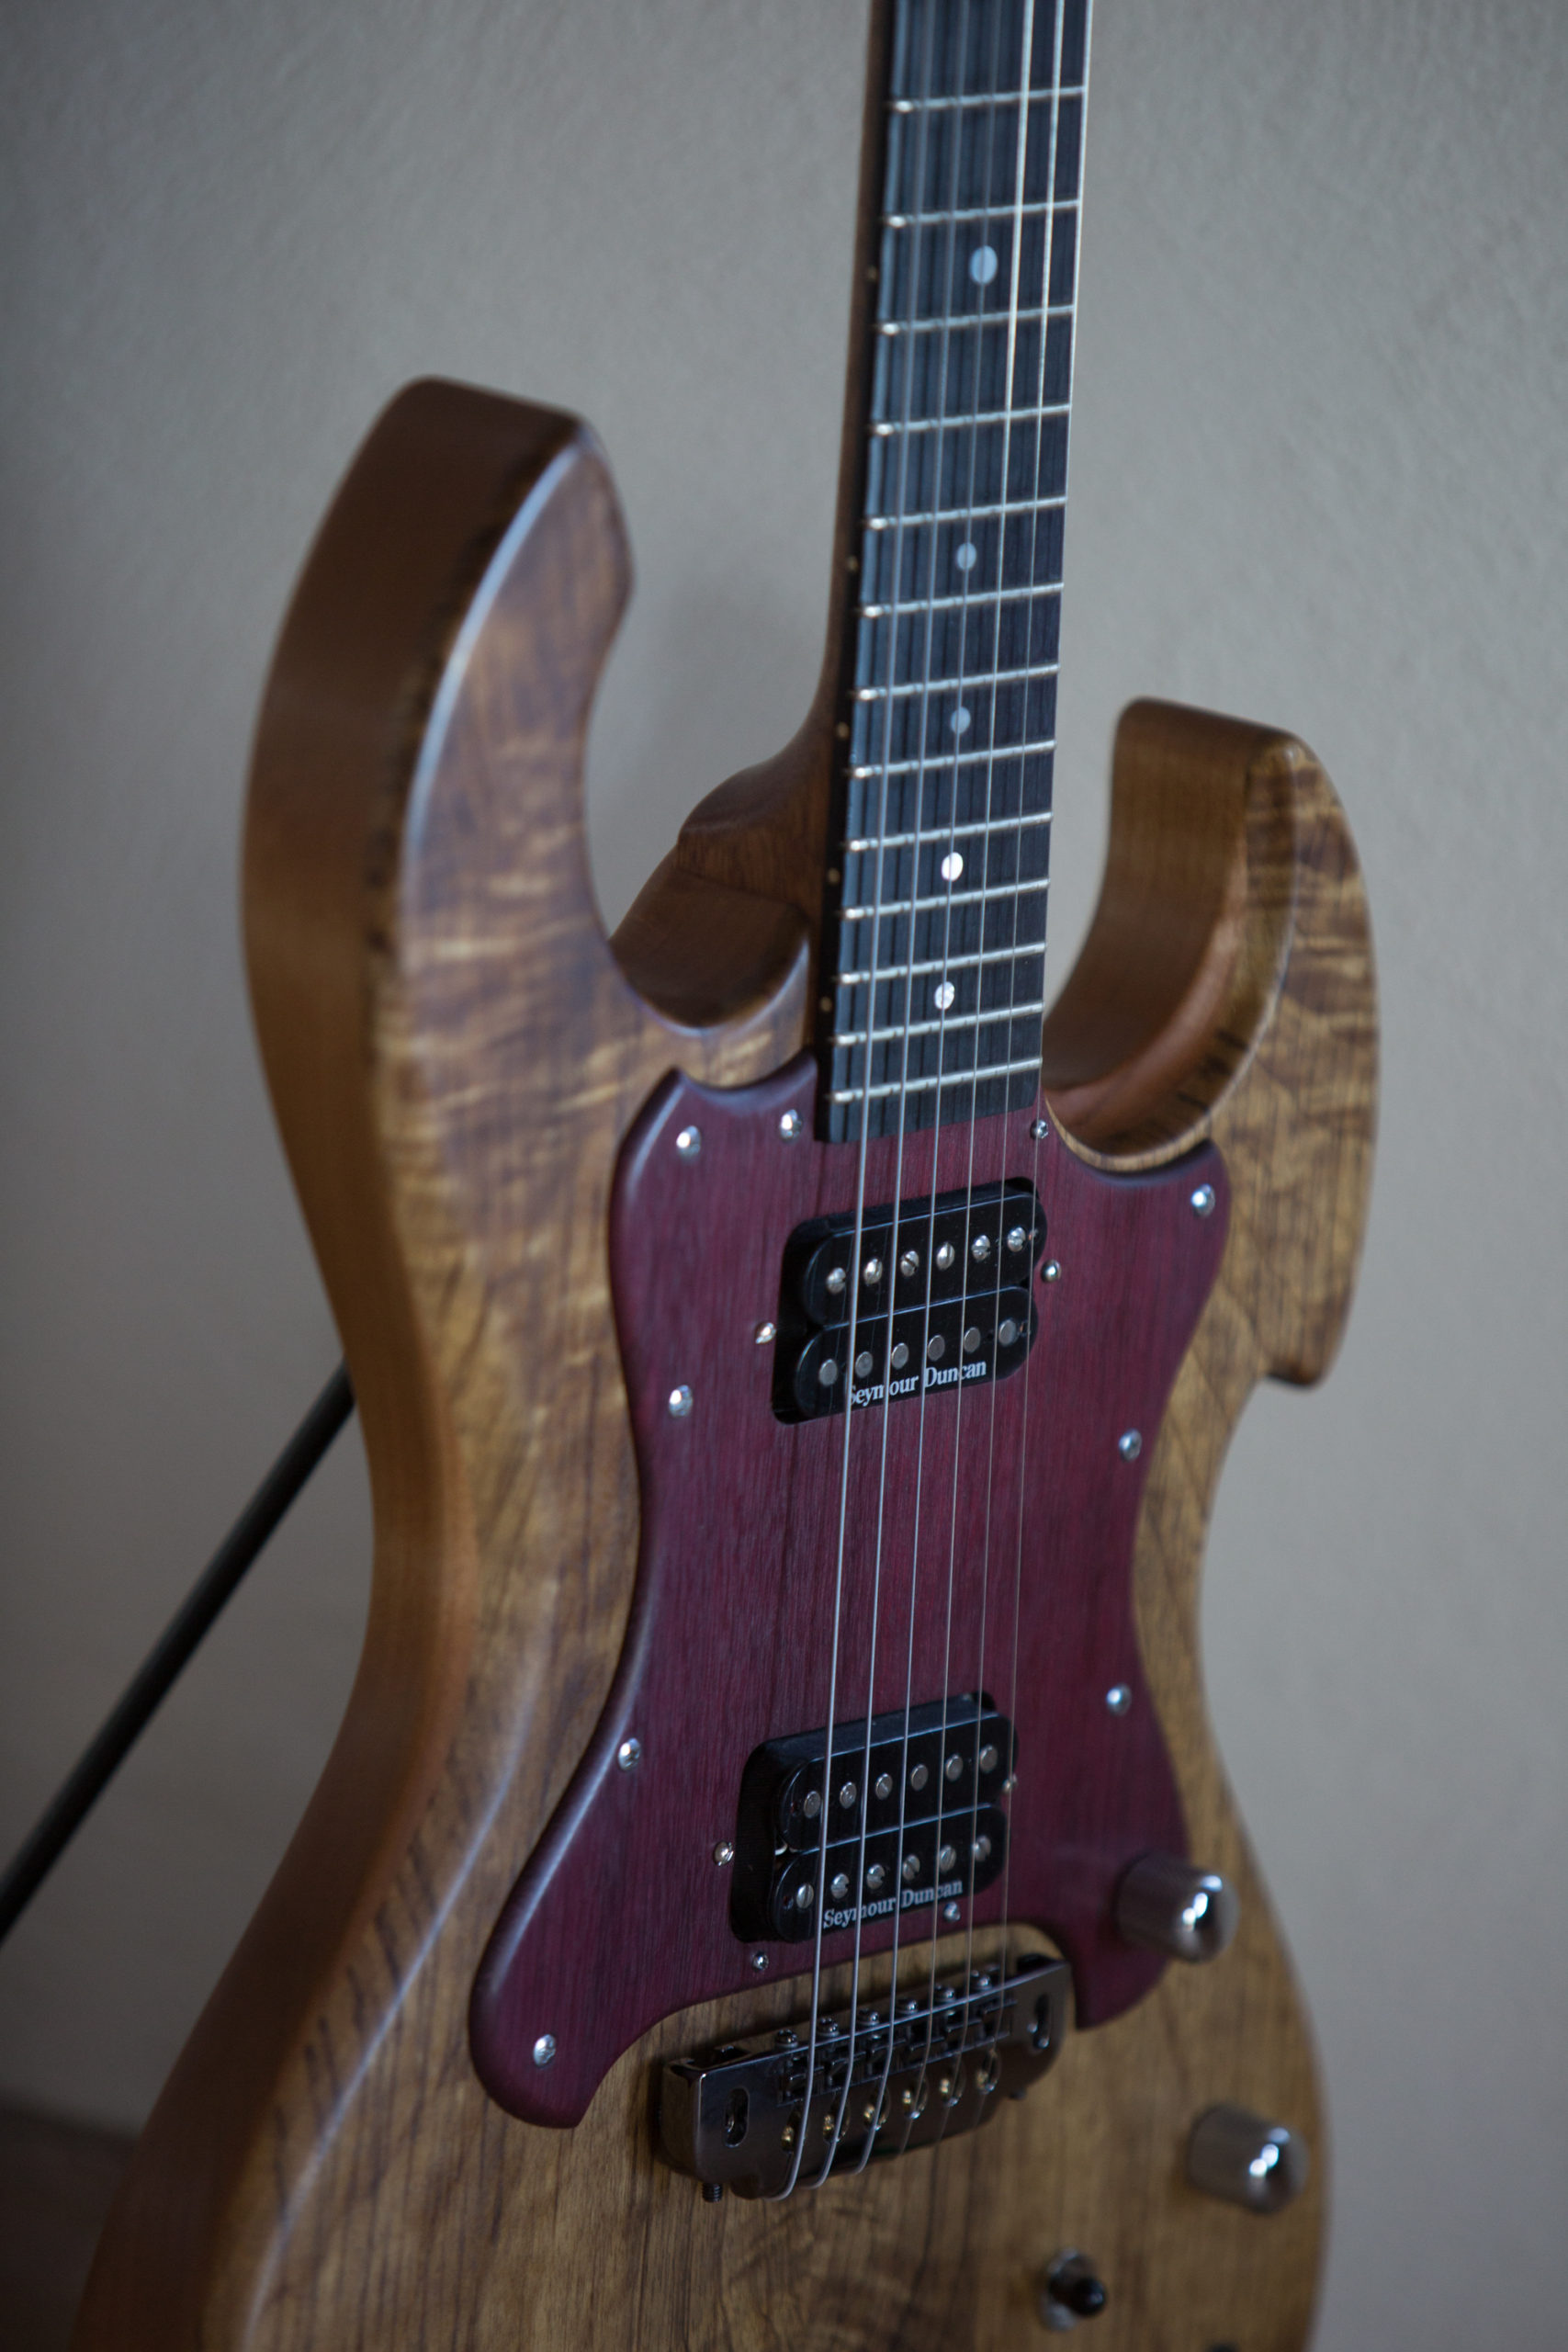
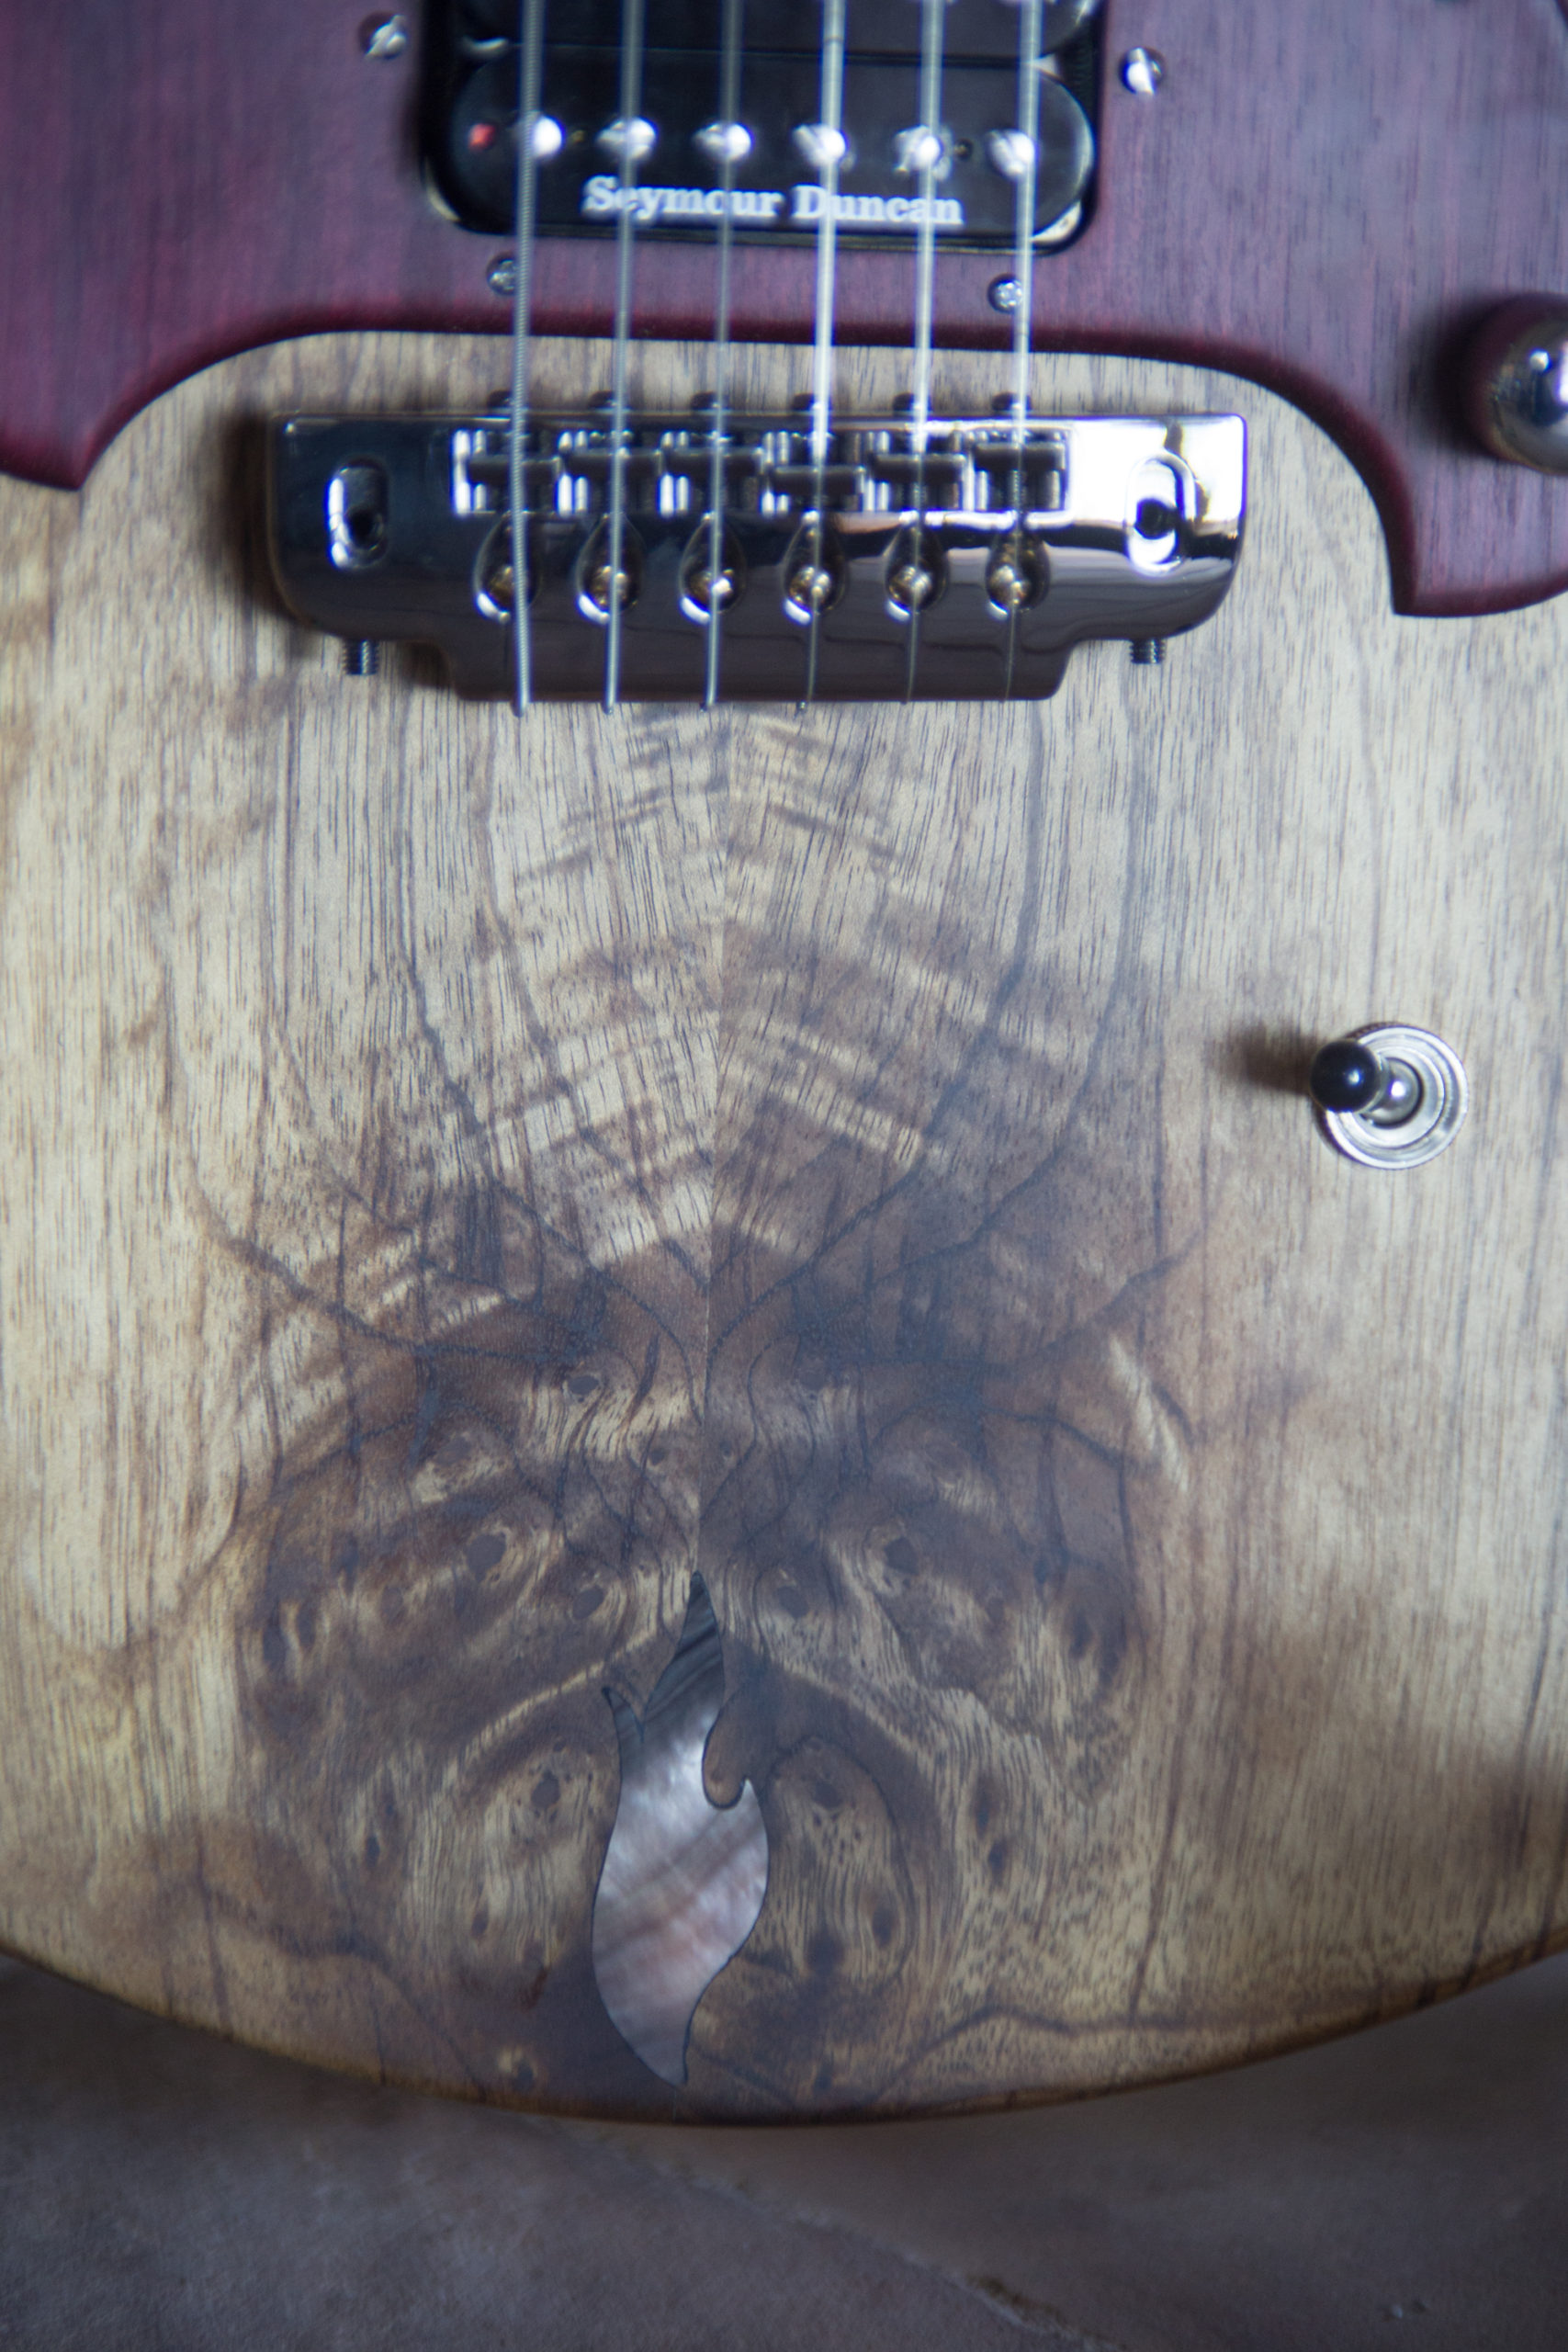
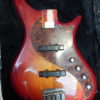
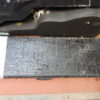
The next thing I wanted to figure out was the bridge design.  Brad did mention he likes having individual string bridges like the ones ABM makes.  At first I was trying to design a base plate that they could rest on, and the bridge plate could be adjusted for height with two adjustable thumbscrews, kind of like a tune-a-matic bridge.  I thought I had something figured out; in fact I thought I had something figure out a few times!  Unfortunately my machining skills aren’t that good; really, they are are almost nonexistent.  I liked the general design though so I settled on something in the middle.  I still used the baseplate design, a piece of Macassar Ebony glued to a base of aircraft grade aluminum.  I was able to make the thumbscrews that secure the baseplate to the body.  I just wouldn’t be able to raise or lower the height of the baseplate.  

Hopefully as time goes on my skills with machining parts will improve.  It is definitely a skill I would like to improve on.  Working with metal has been something I’ve wanted to do more of.  I’ve just never been in that particular environment to learn that skillset.

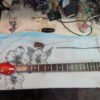
The next hurdle was the pickups.  Because the string spacing was unique I knew I wouldn’t be able to buy a stock pickup set. I looked long and hard…  Then I remembered a friend of mine, a fellow Roberto-Venn graduate and Luthier extraordinaire, Scott French, had just bought a vintage coil winder and was experimenting with his own pickup designs.  I hopped over to his shop with some drawings I made, to see if it was something he would be into; and I wanted to check out the coil winder.  Thankfully he was into it!  I also gave hime some pieces of maple to make pickup covers with.  I don’t think he had as much fun making the covers as he did the pickups… thanks Scott!

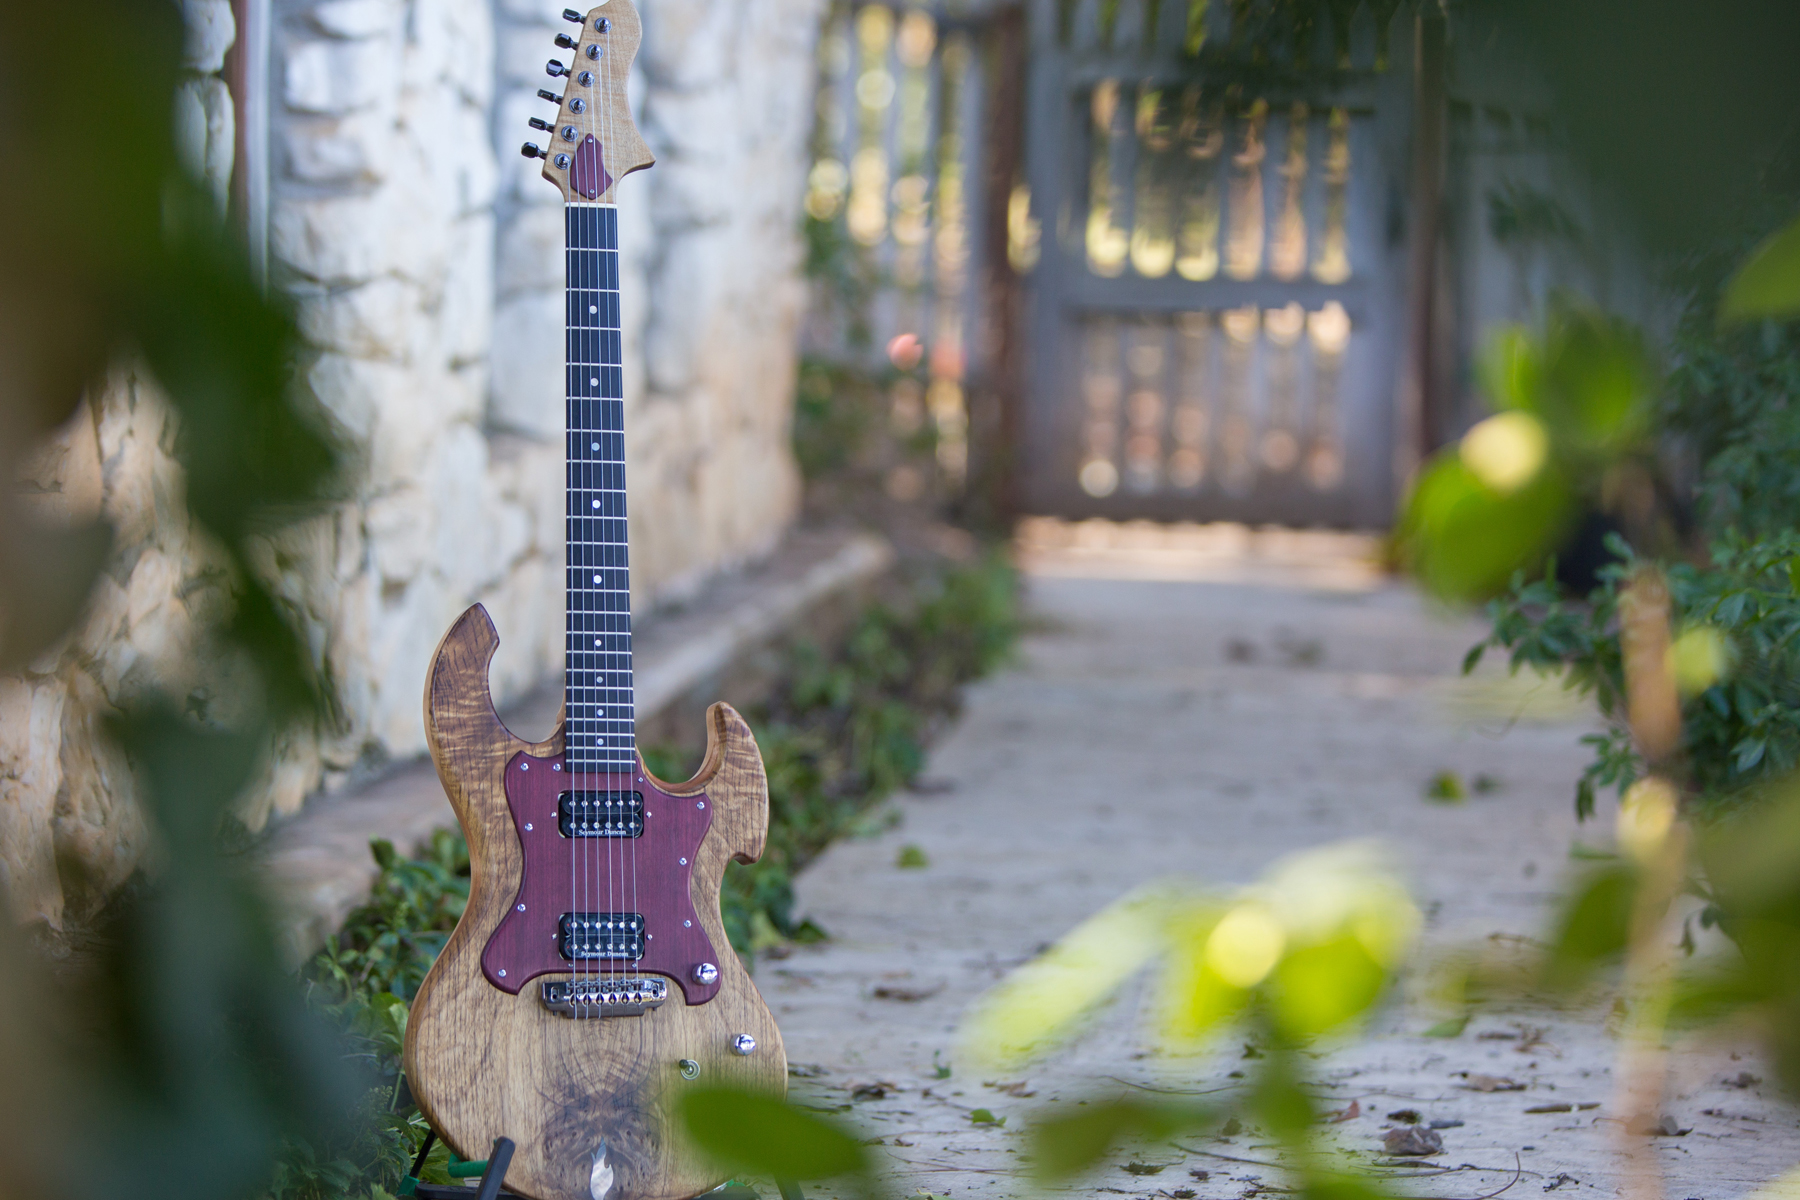
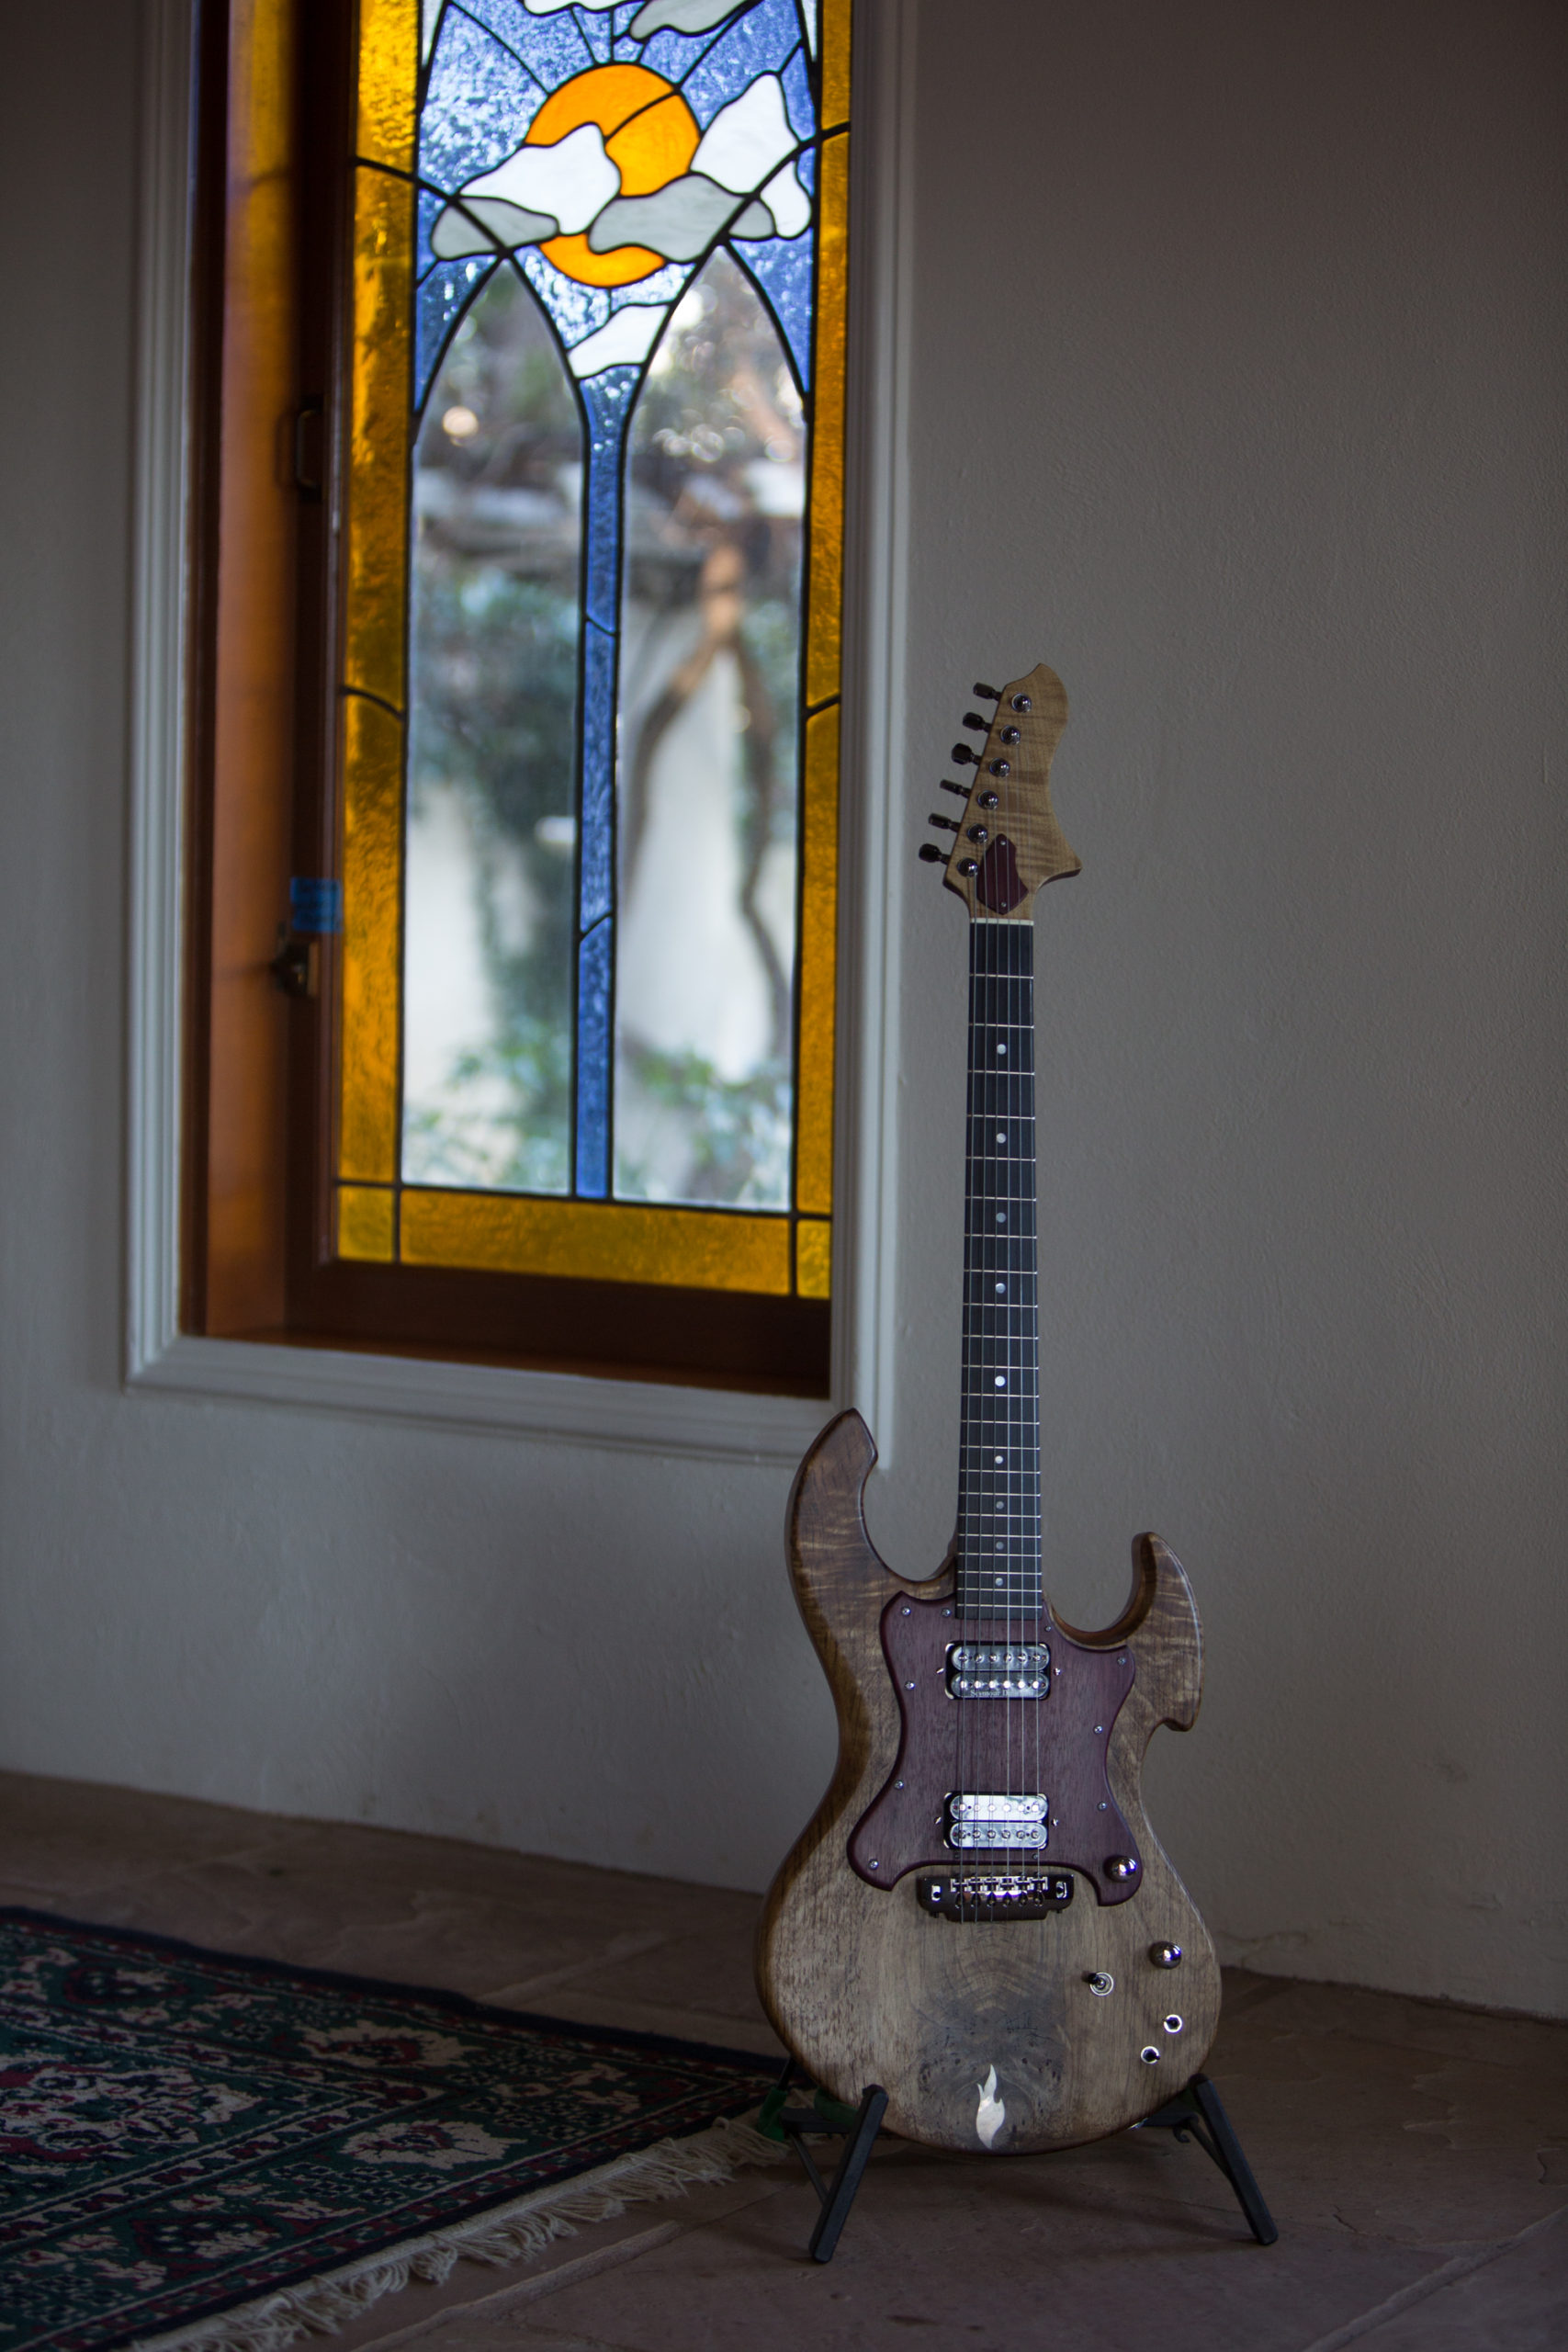
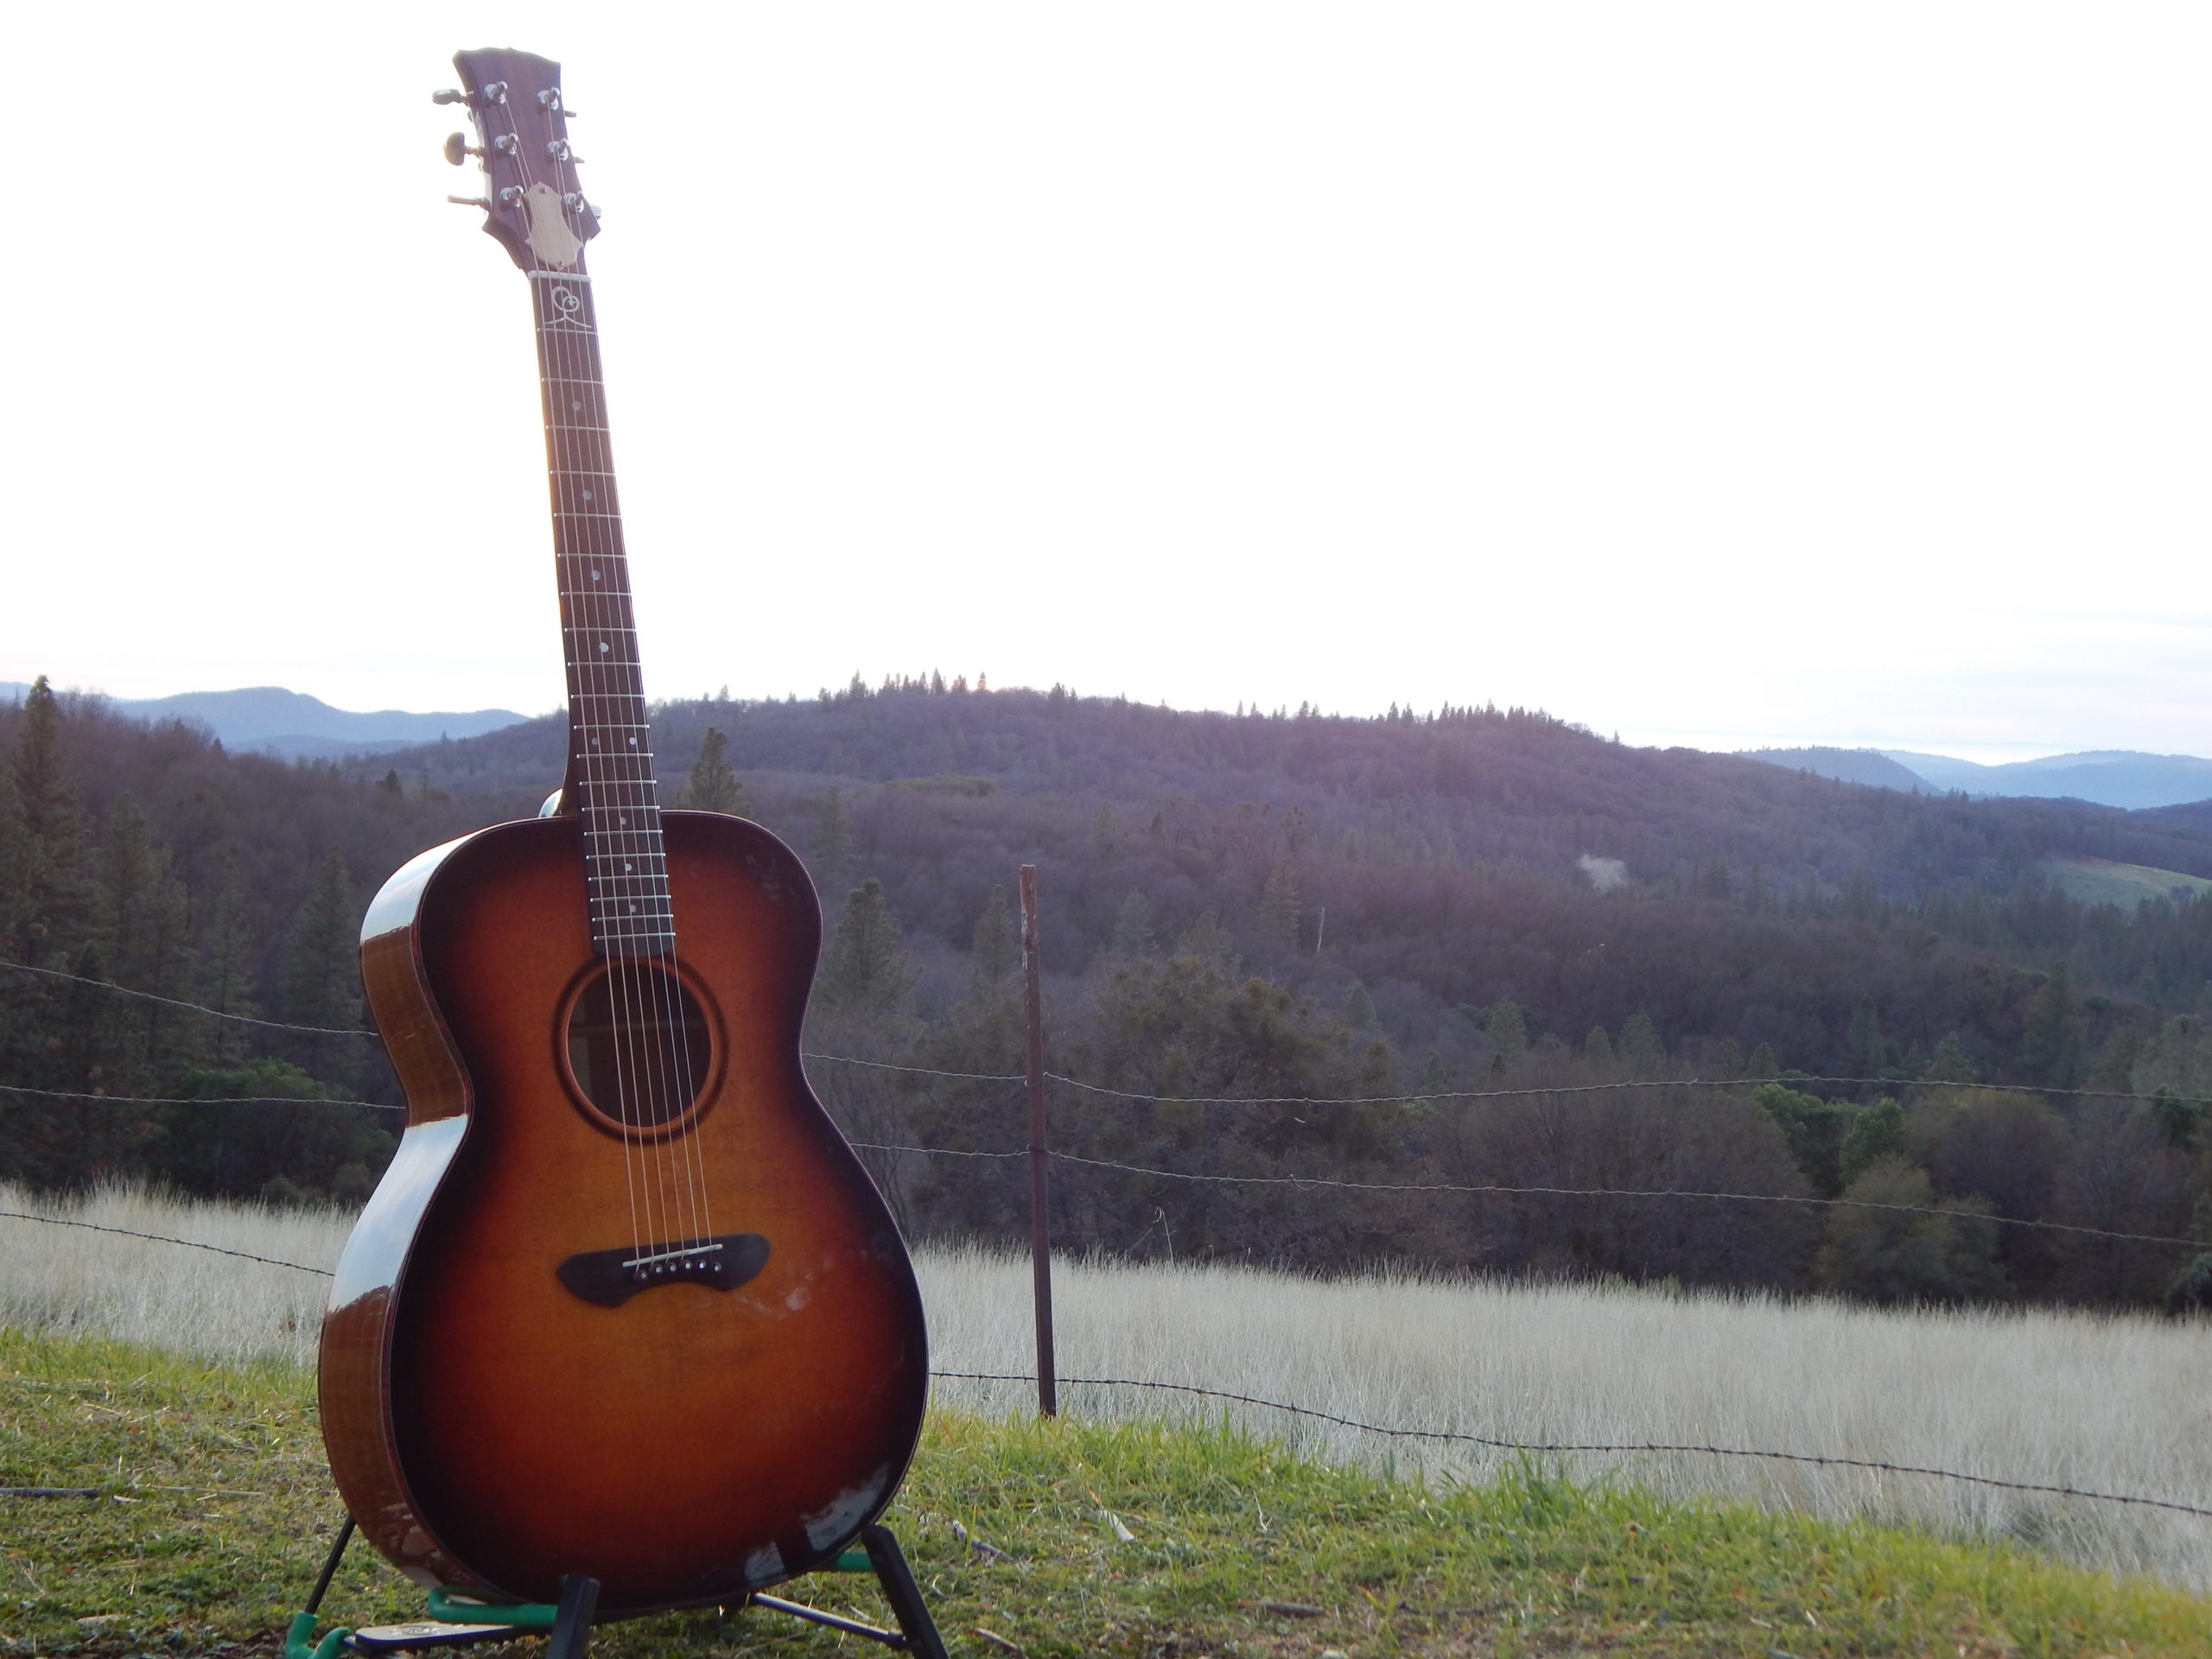
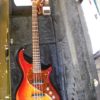
The next crazy bit is the finish.  I knew I wanted to do something different but it wasn’t clear in my mind.  I kept going back and forth about doing an opaque finish; something I had never done before.  I was feeling blues and creams, that’s all I knew.  It was also around this time I had just bought a fancy tape dispenser with a bunch of different width tapes from Stew-Mac.  And one way way or another I ended up with this finish!  If you asked me to do it again I would laugh.  It happens regularly with me; I don’t know where I’m going, I know I’m on a new road, and I just let it roll.  I might be able to do something similar, but by no means the same.  I wouldn’t want to.

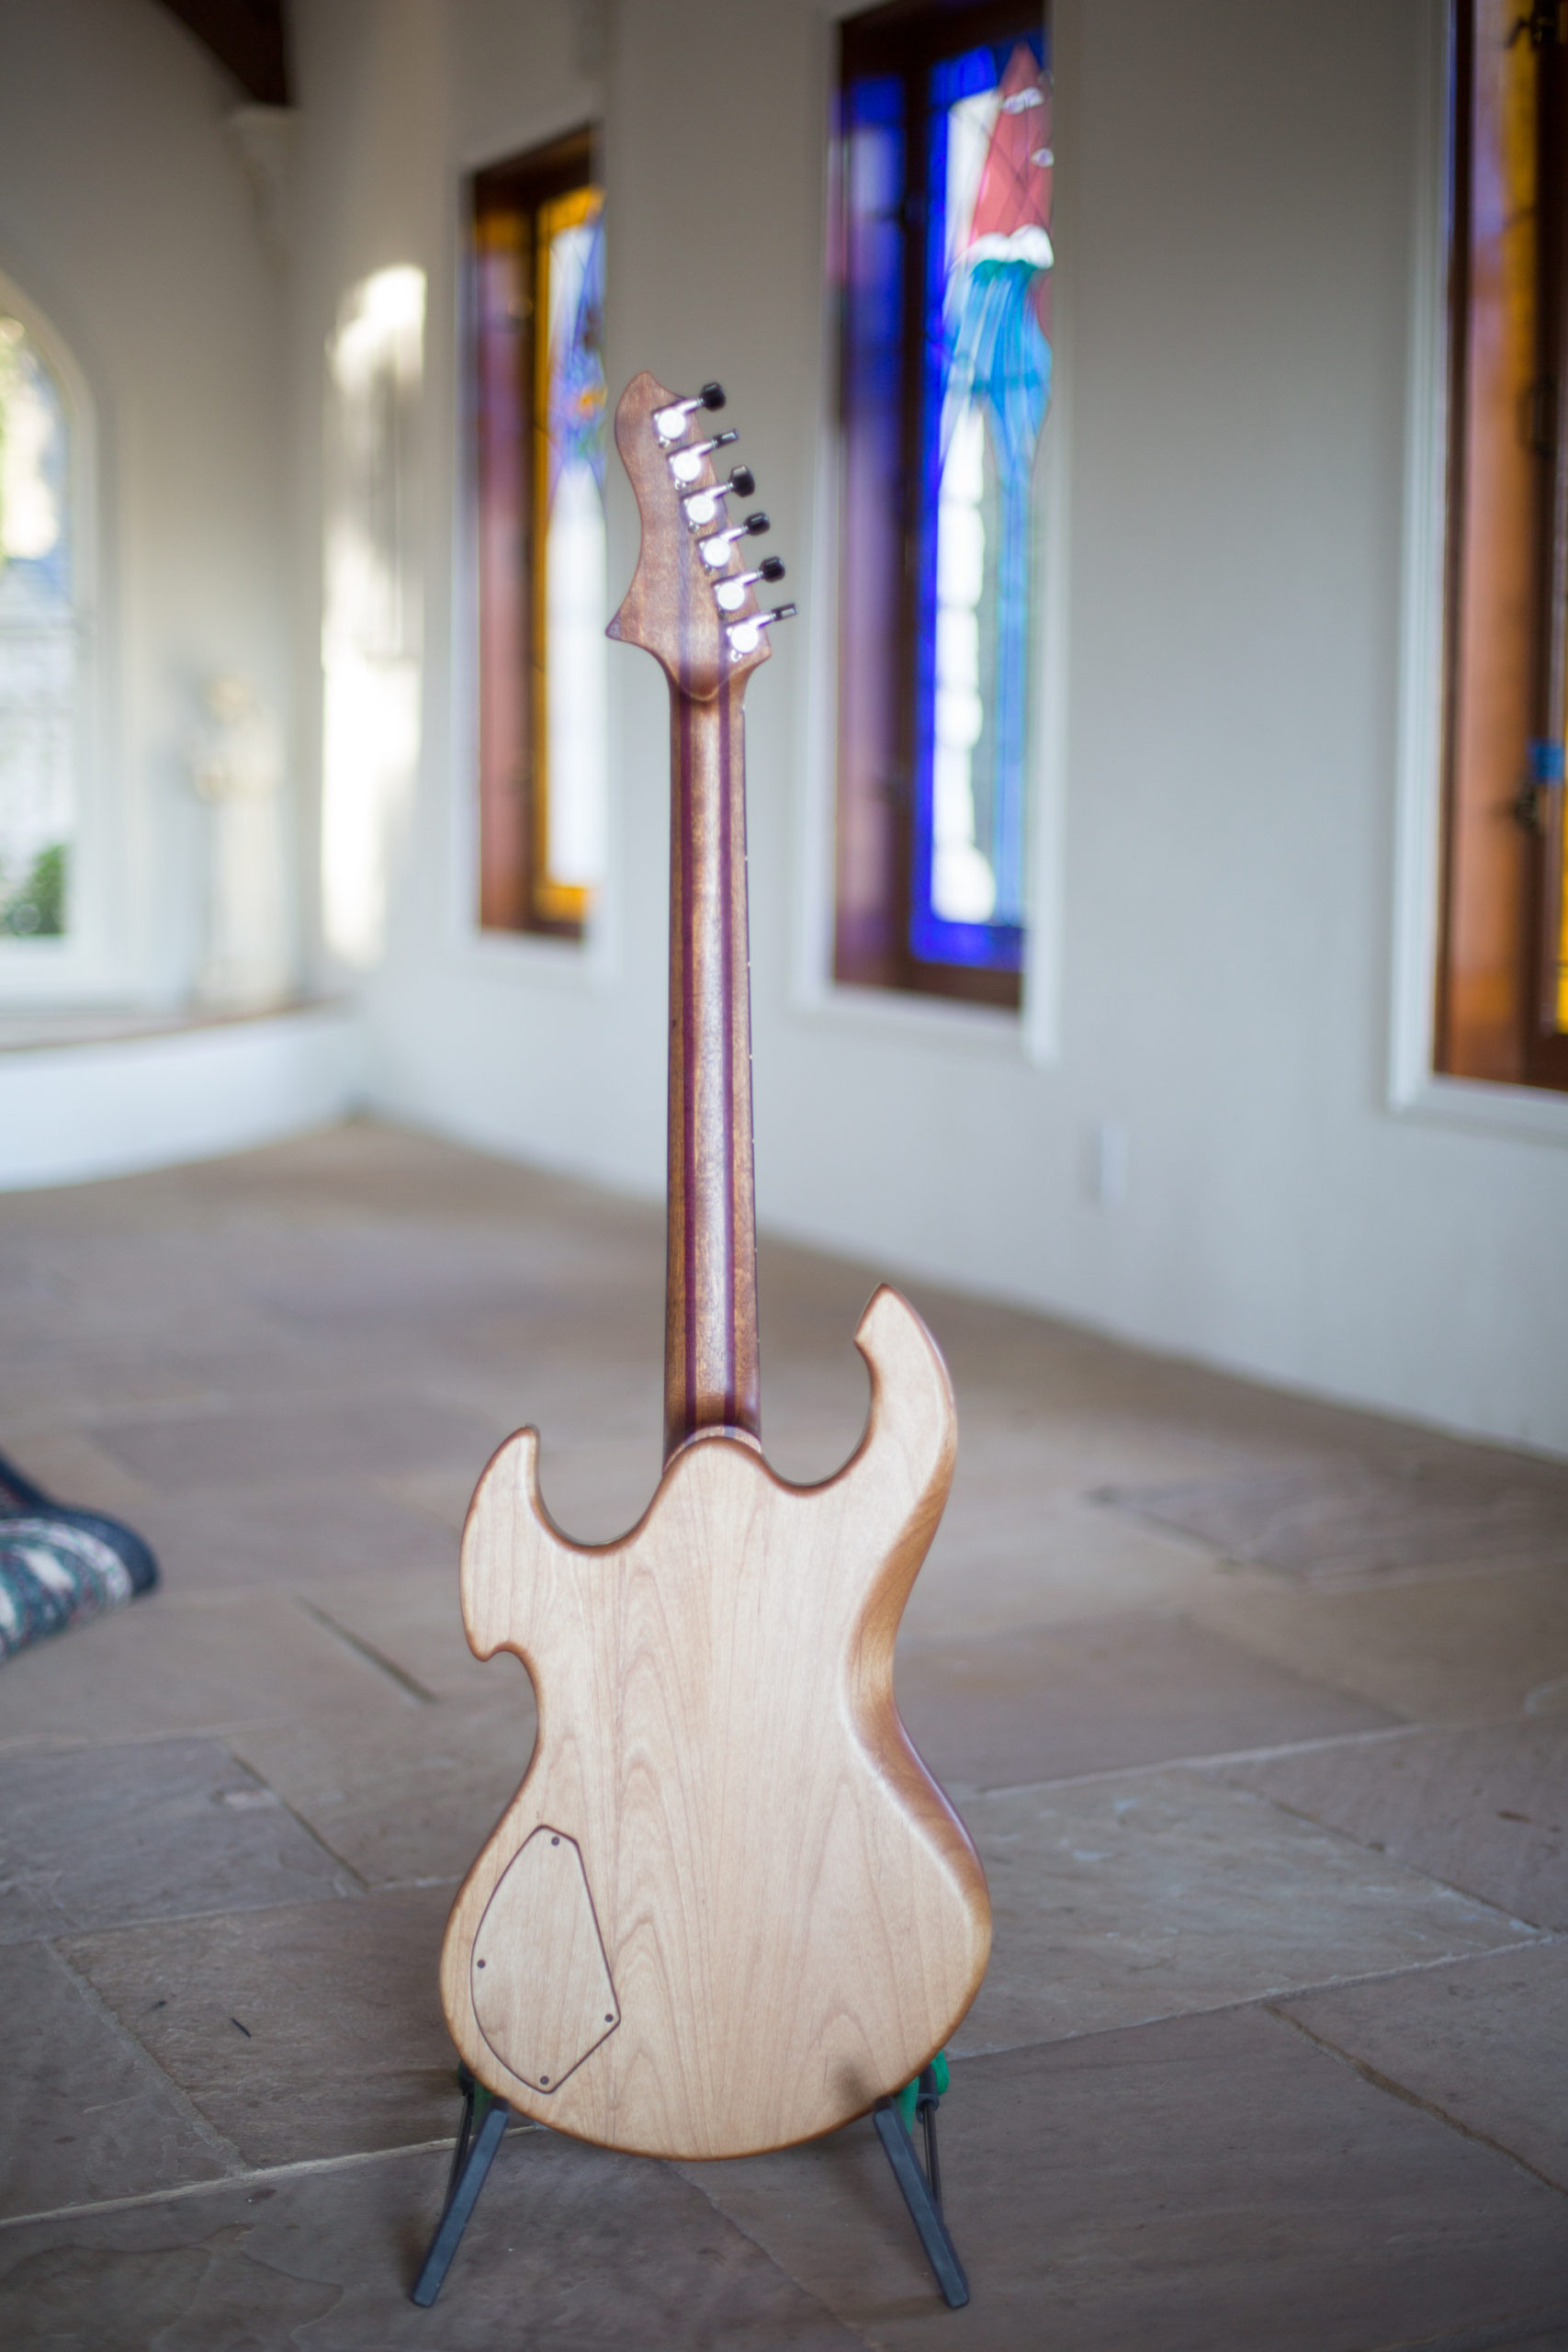
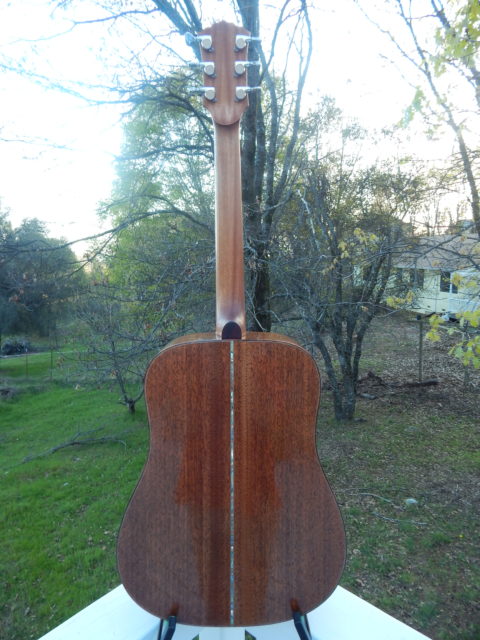
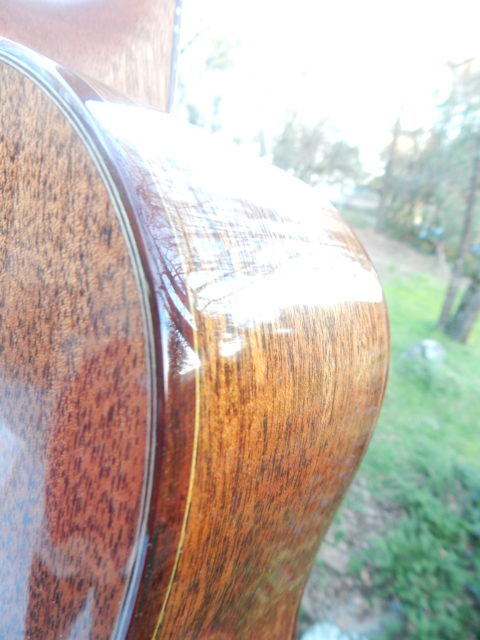
This was also the third instrument where I had a lacquer finish on the body and a tung oil finish for the neck, where the neck is also a glued in set neck.  With this one I wanted the neck to be a tighter fit than the first two.  It was a bit too tight this time.  There was some finish stress cracks from glueing in the neck.  Now I know, tight is ok, really tight is not.

It was a fun project for sure.  I look forward to making more of these short scale, six string bass/guitars.  I think for most folks, having a more narrow nut and last fret width will be more comfortable.  But for all you normal low end users, I think this one is the ticket!

You can check out a bunch of Brad’s music at https://soundcloud.com/brad-cacciatore/albums

Specs

30” scale

1.750” nut

2.5” at the 22nd fret
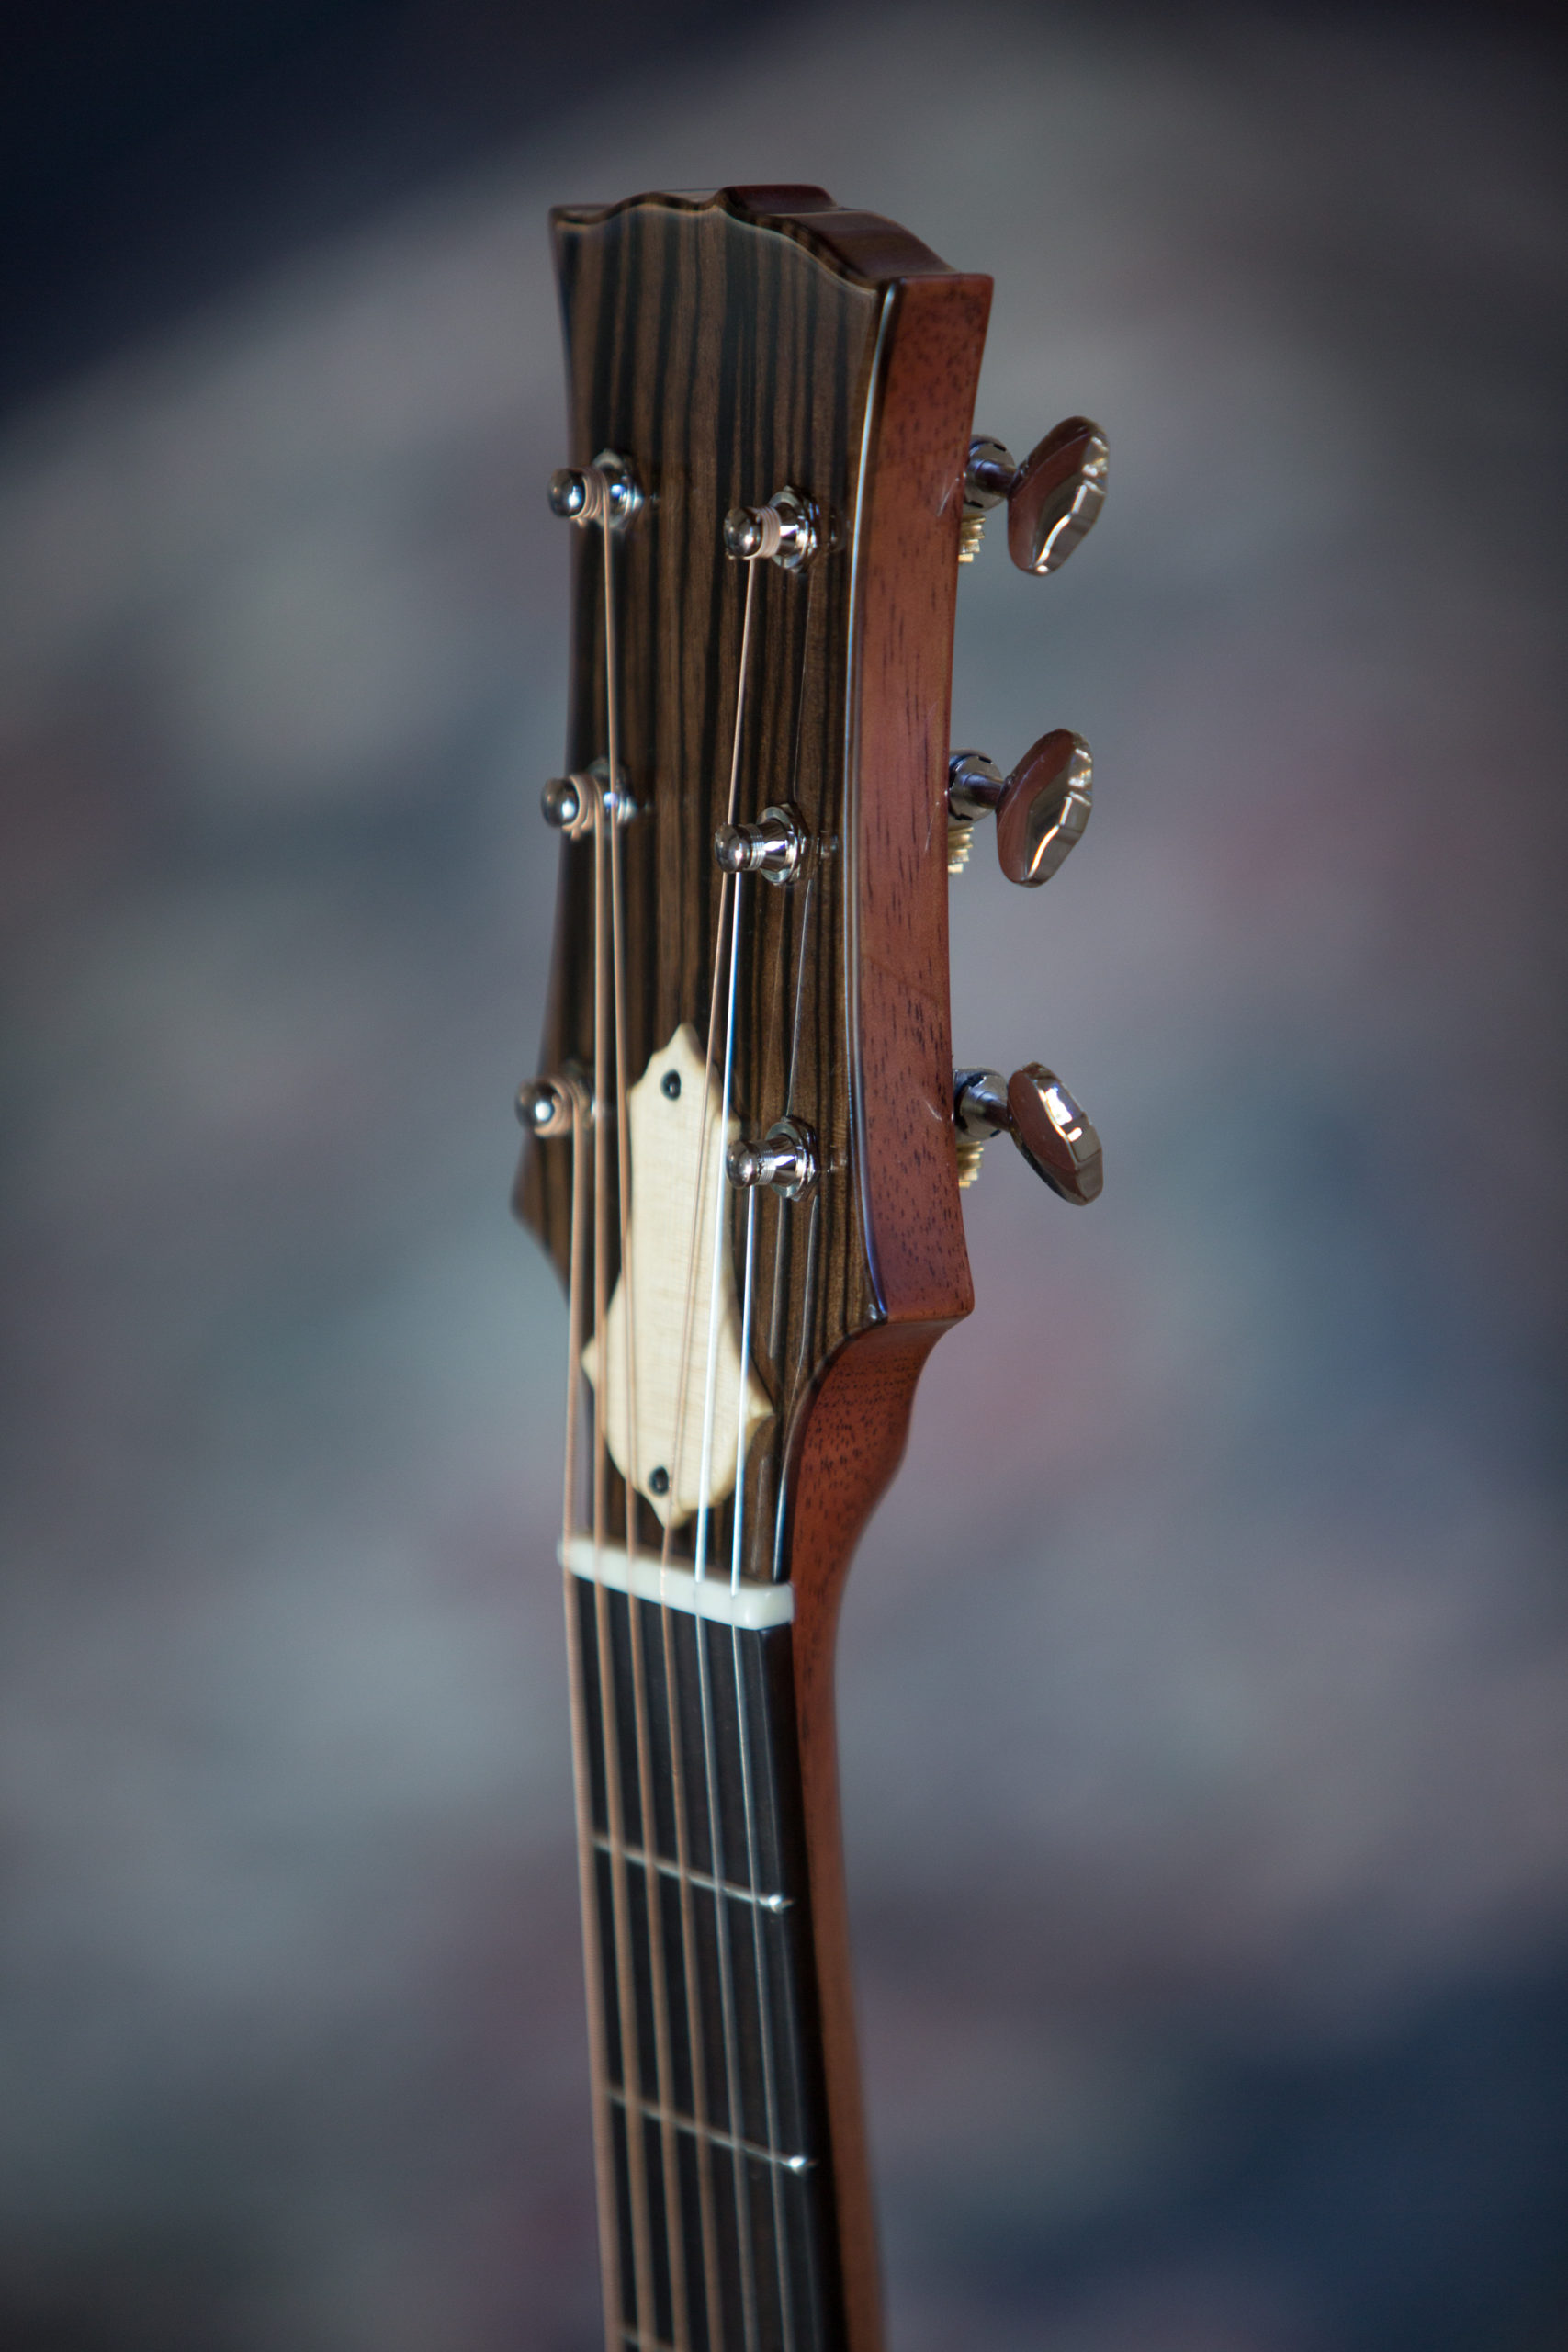
Bone nut

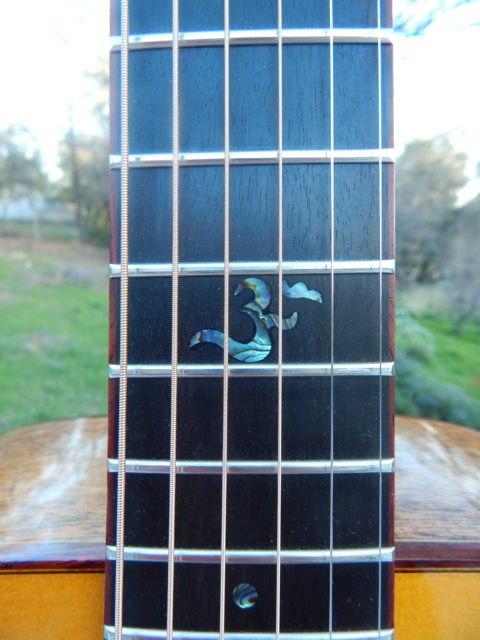
Macassar Ebony fretboard

Two Piece Maple set neck
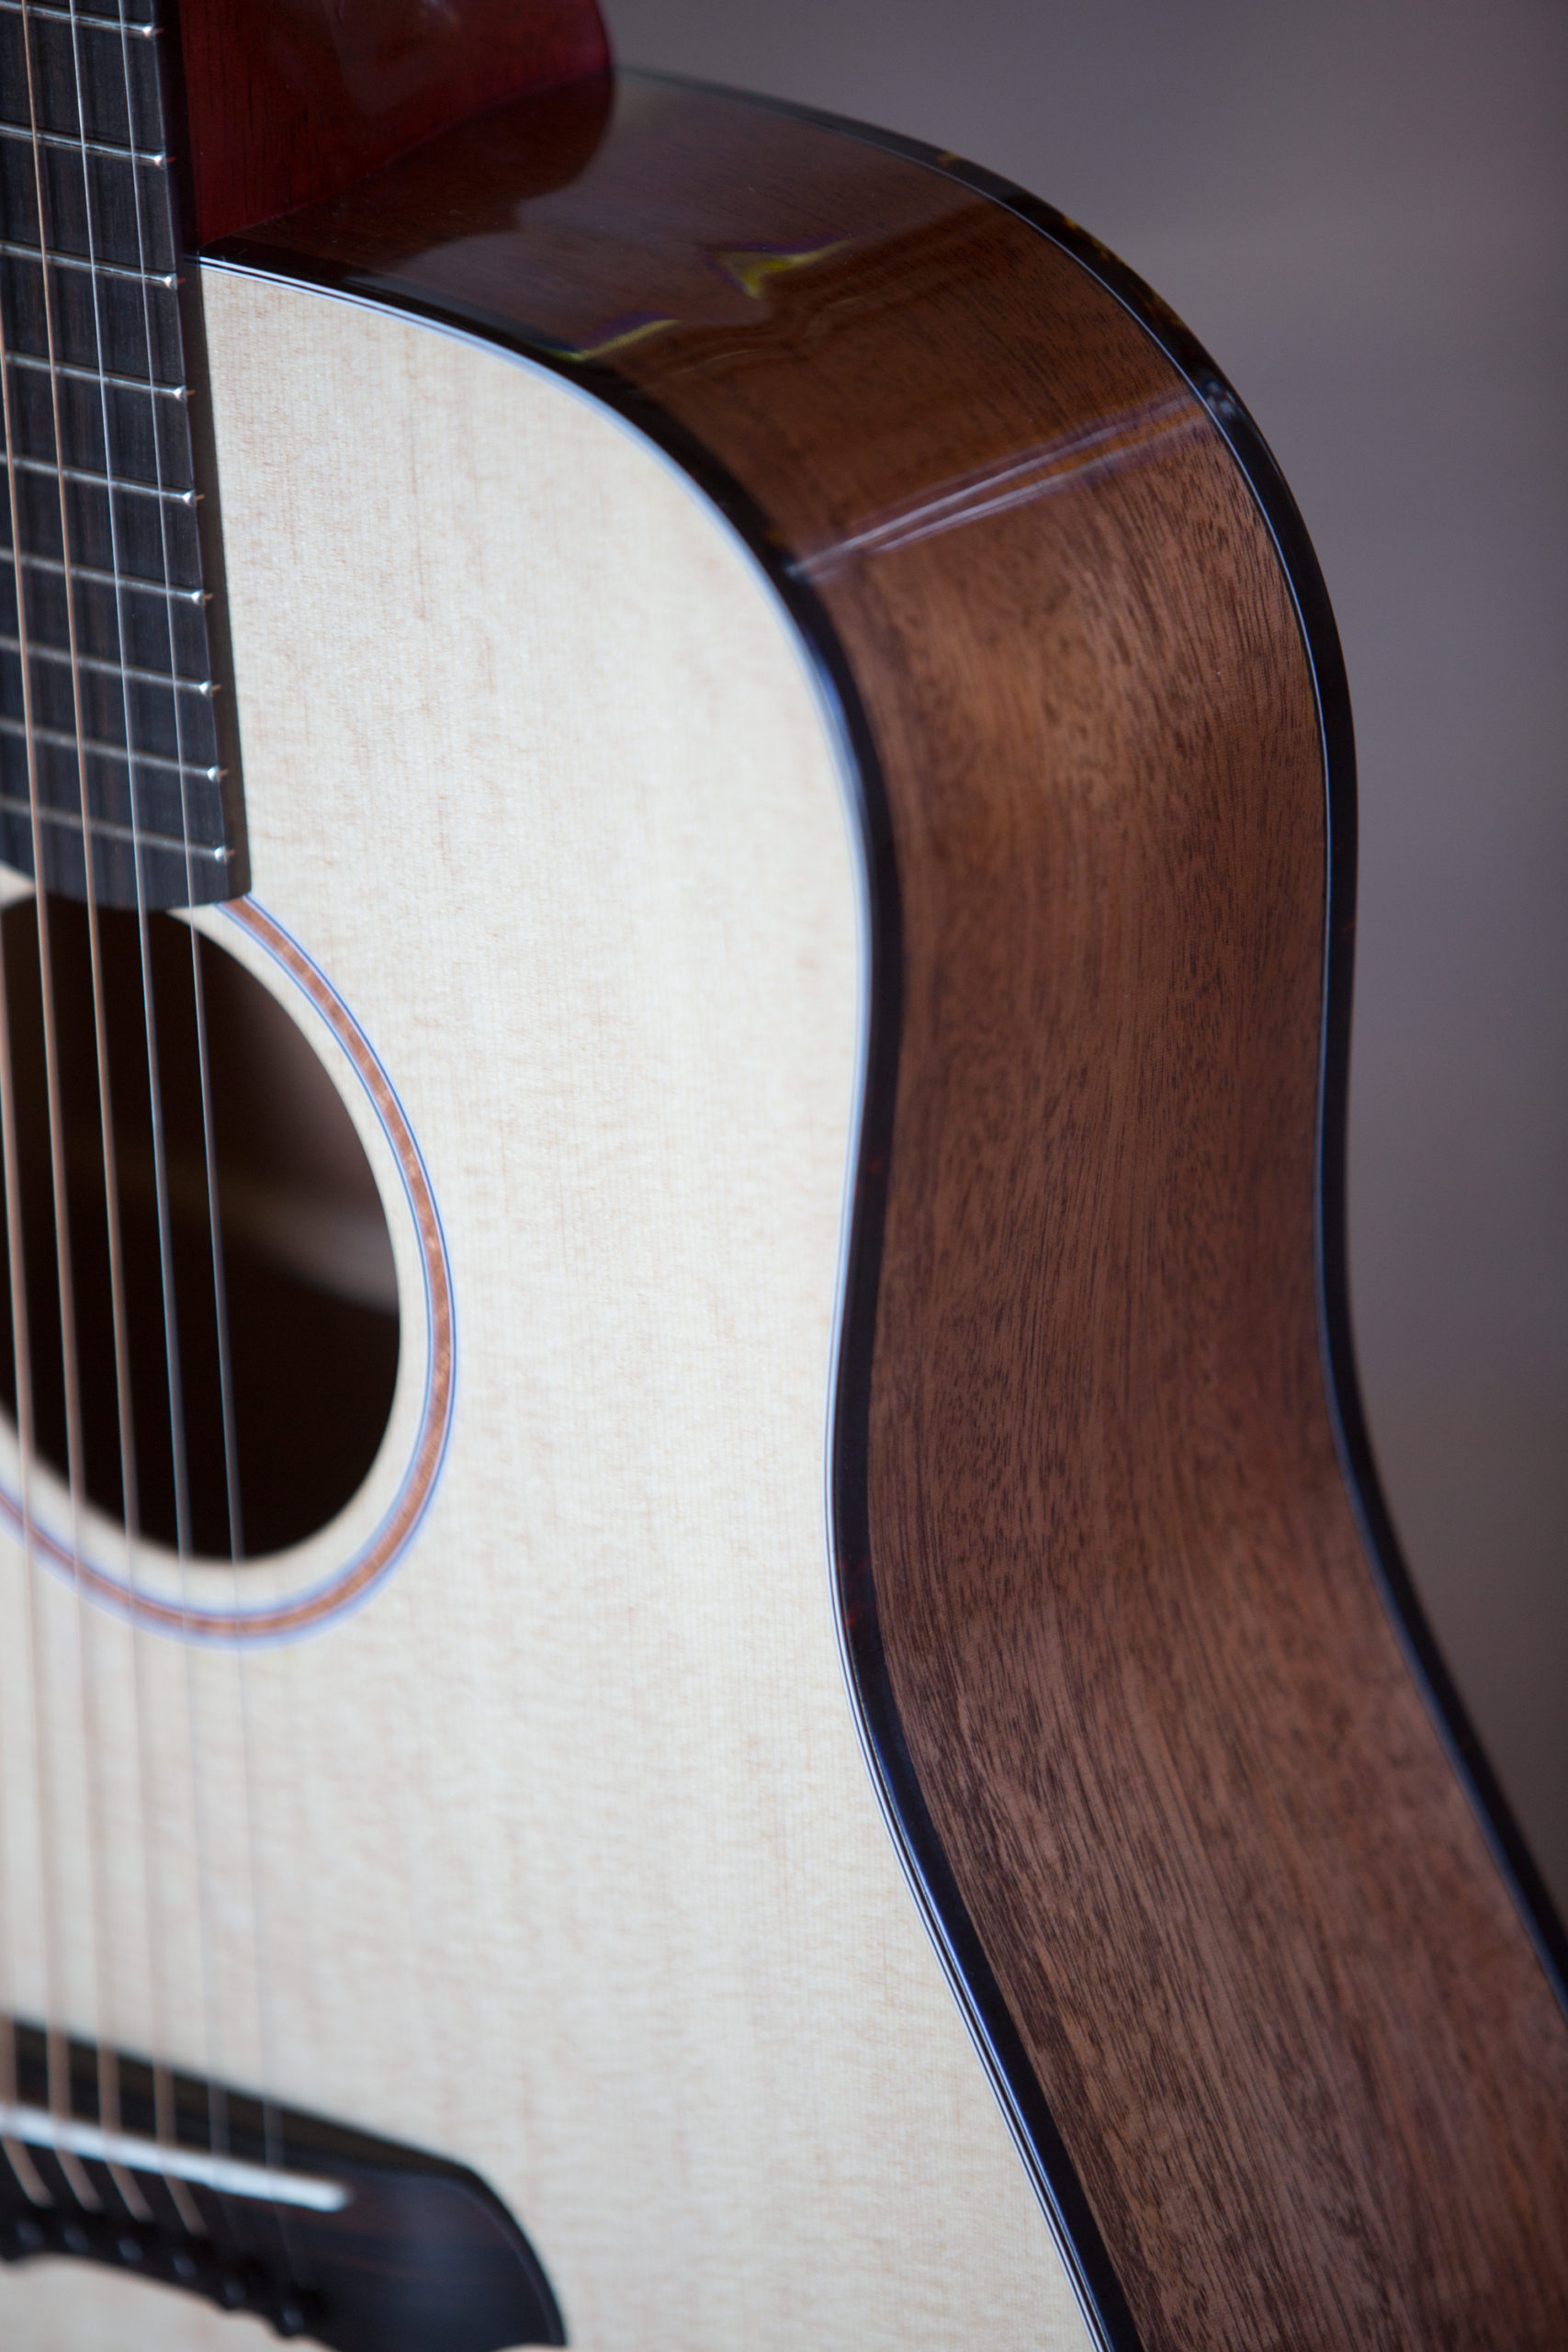
Alder Body

Birdseye Maple pickgaurd

Custom wound pickups by Scott French 7.5k and 9.5k ohms, respectively

Master Volume

Master Tone

Three way selector switch

ABM individual bridges on a custom platform

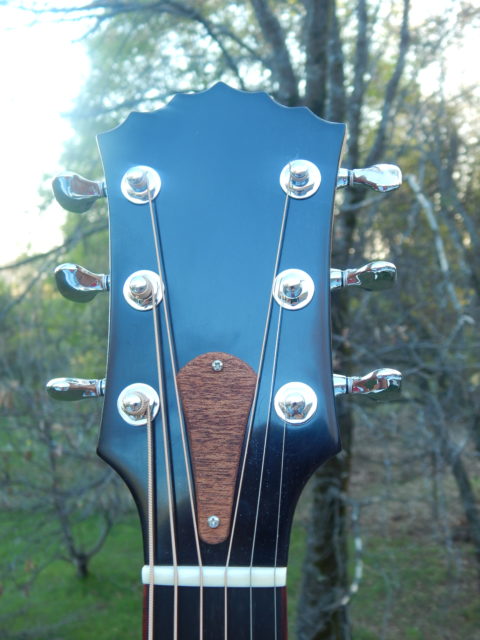
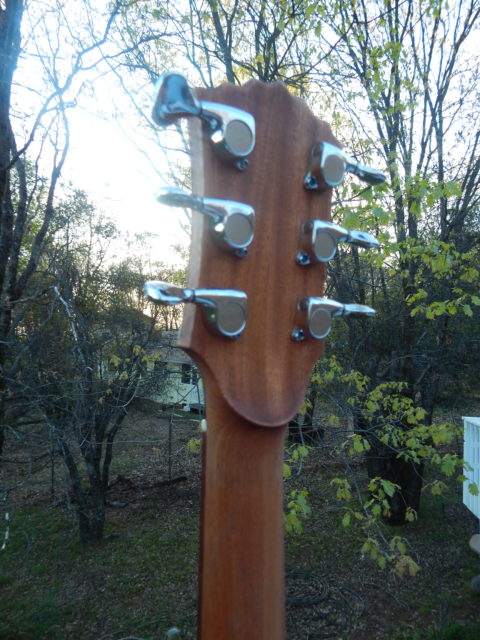
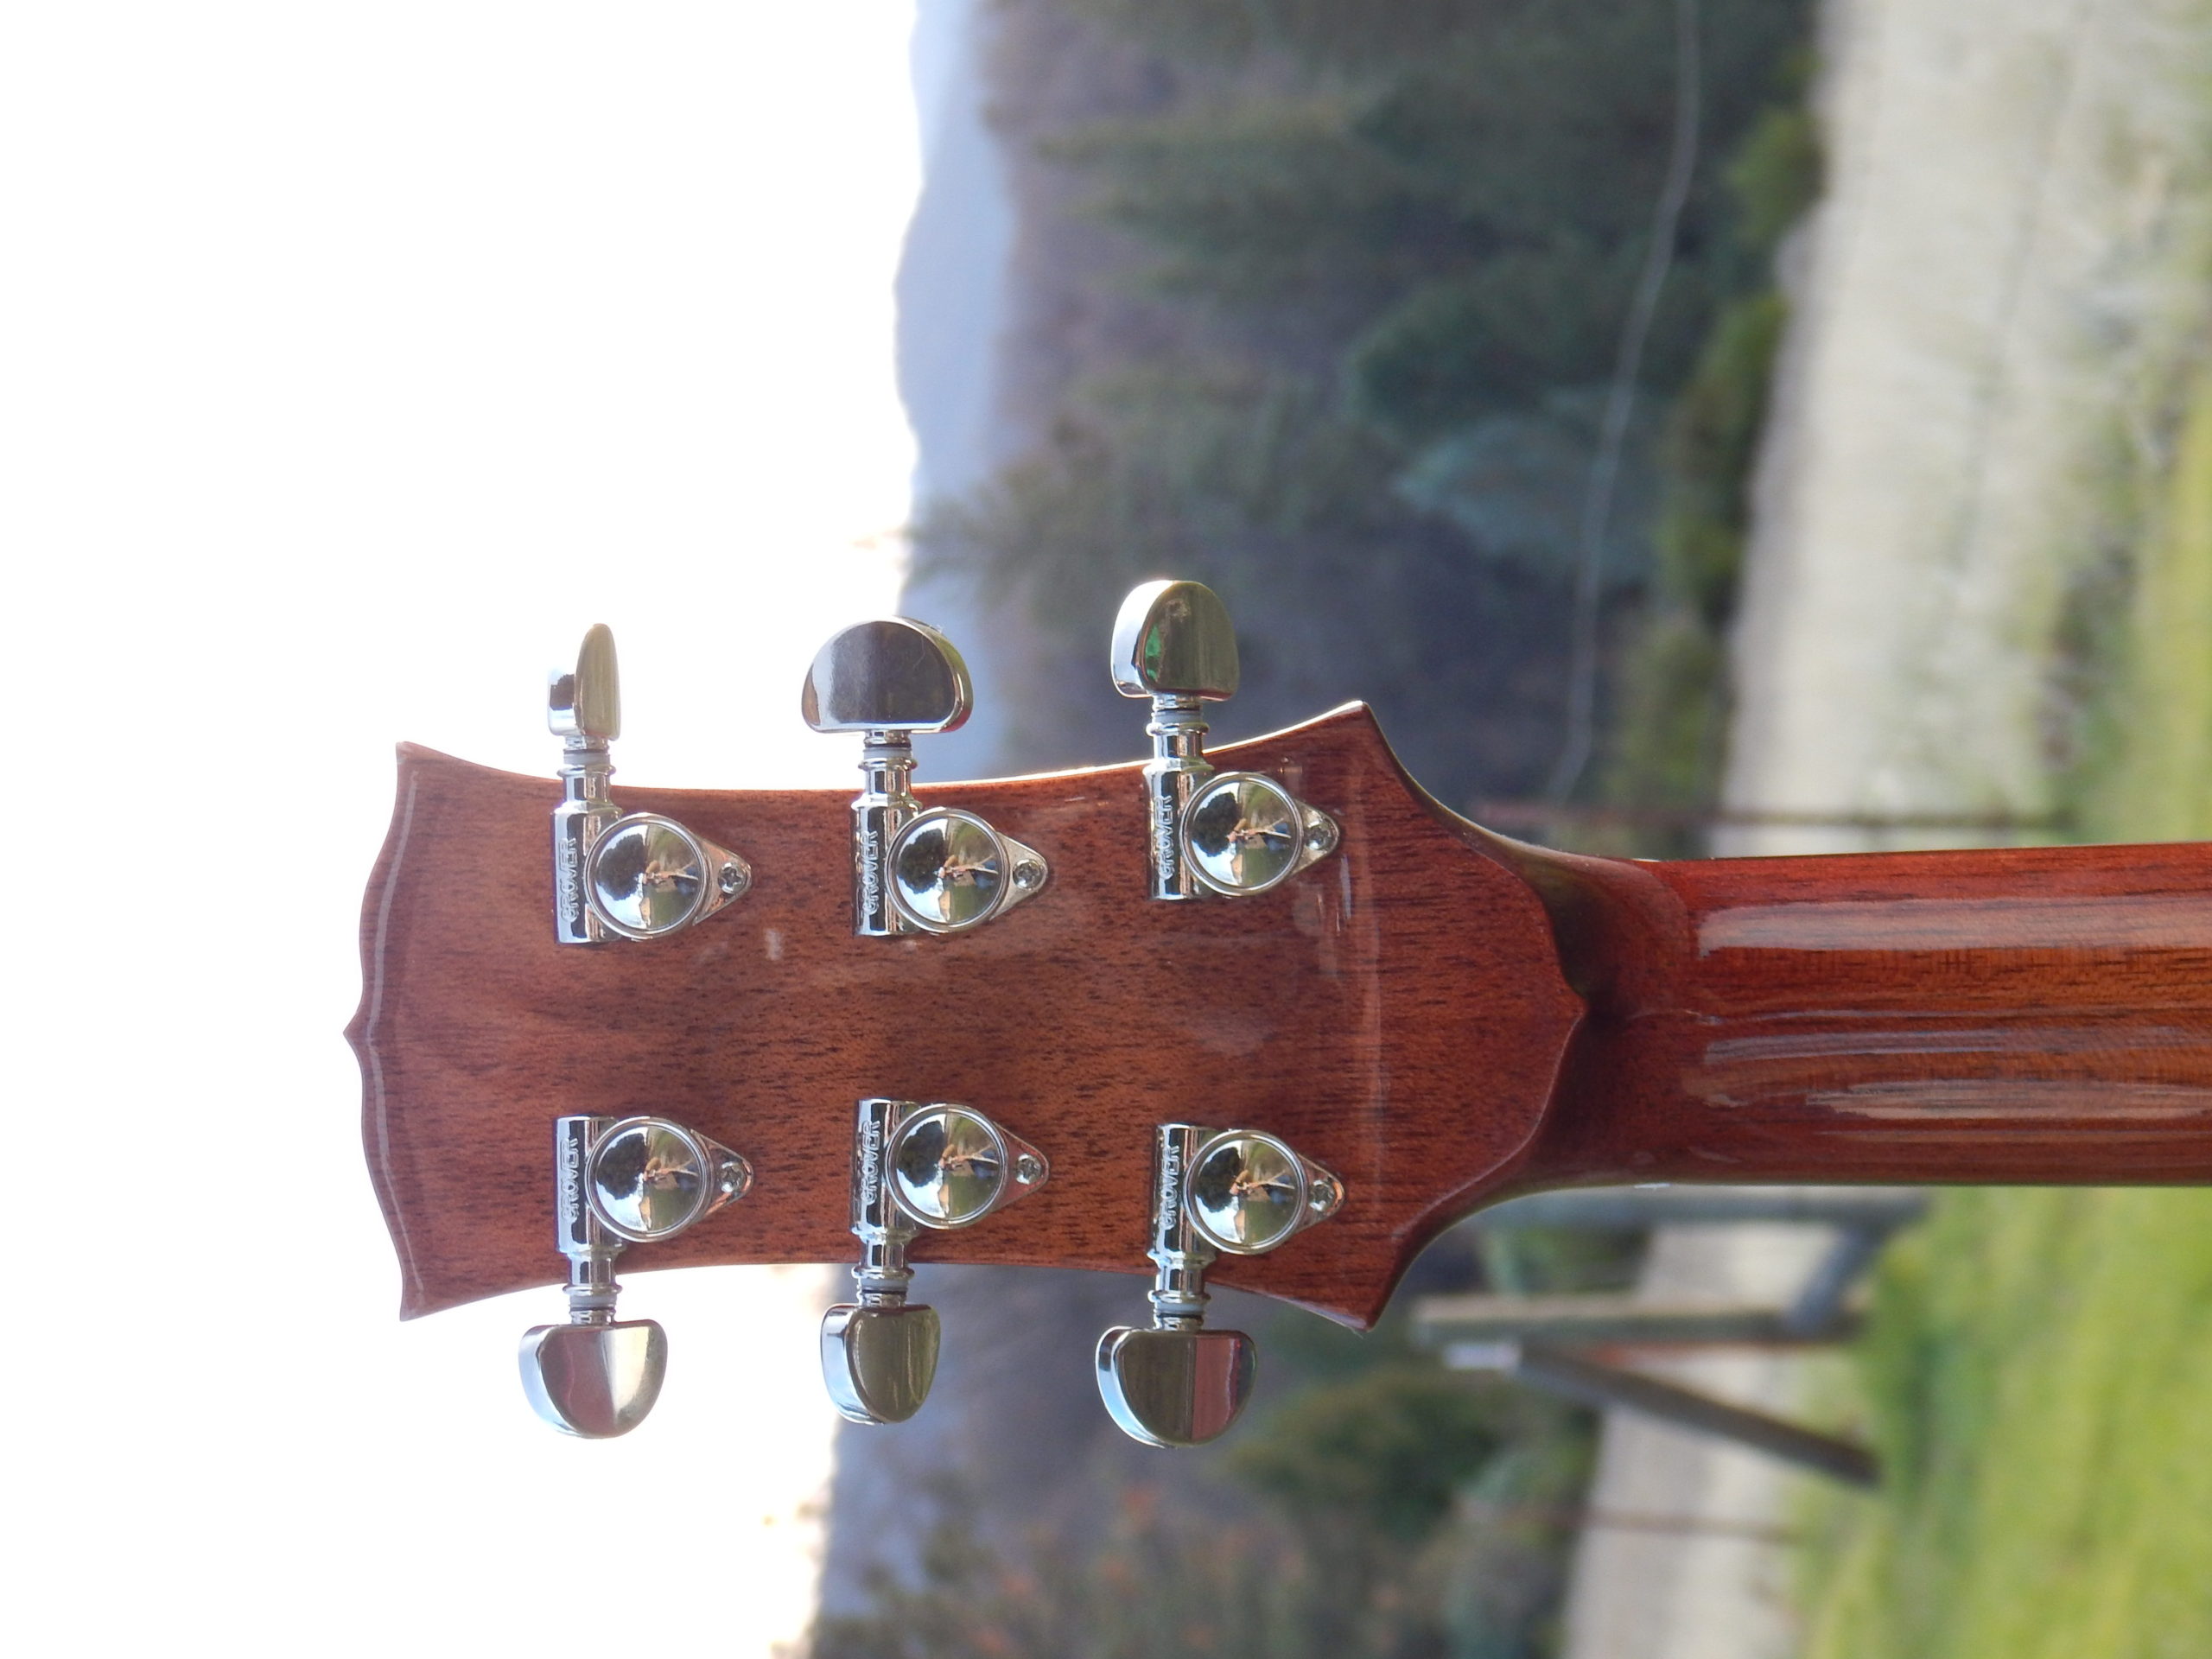
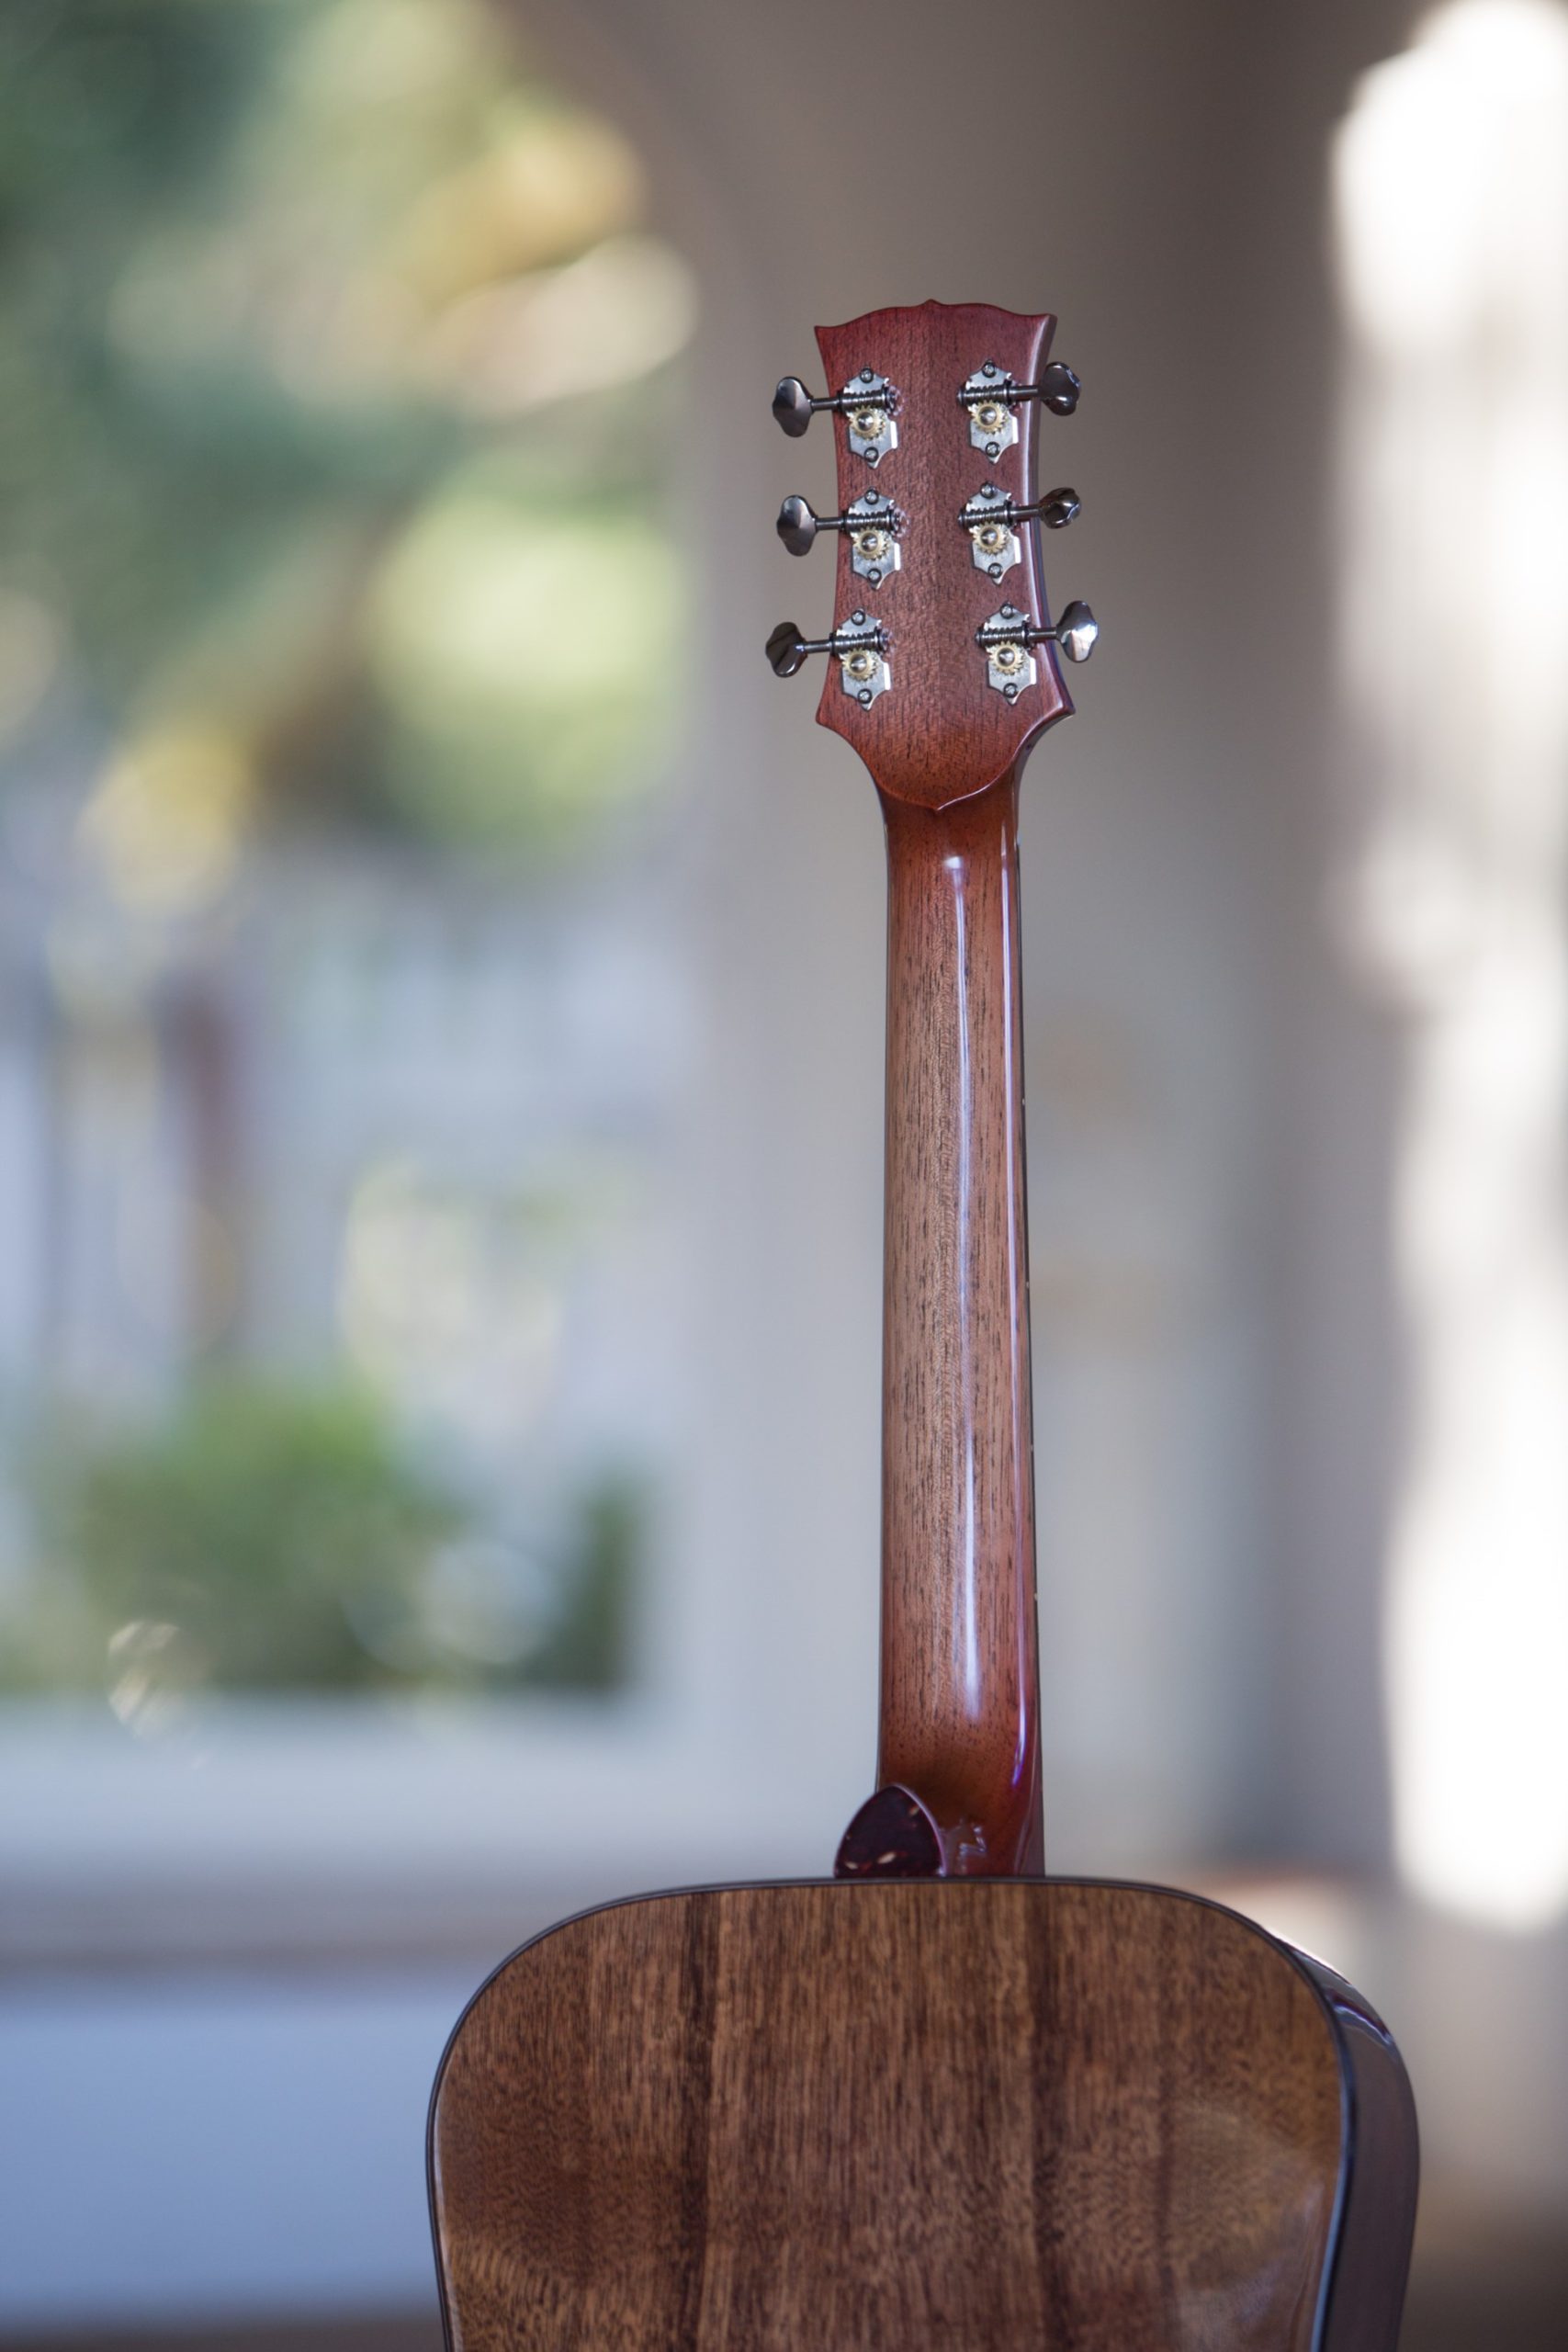
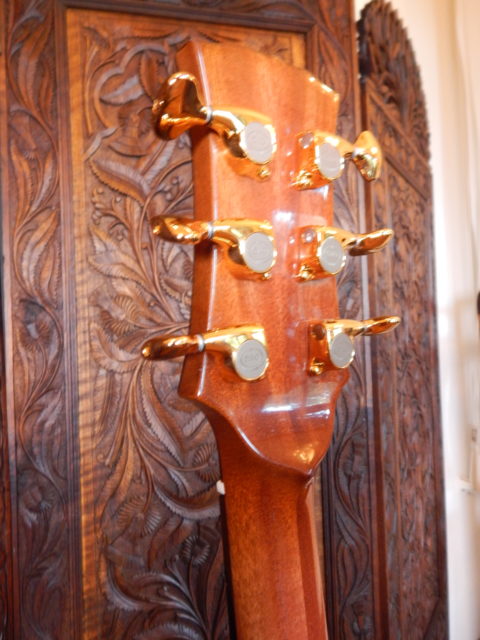
Schaller DiVinci tuners

Gold evo fret wire

Oversized strap buttons
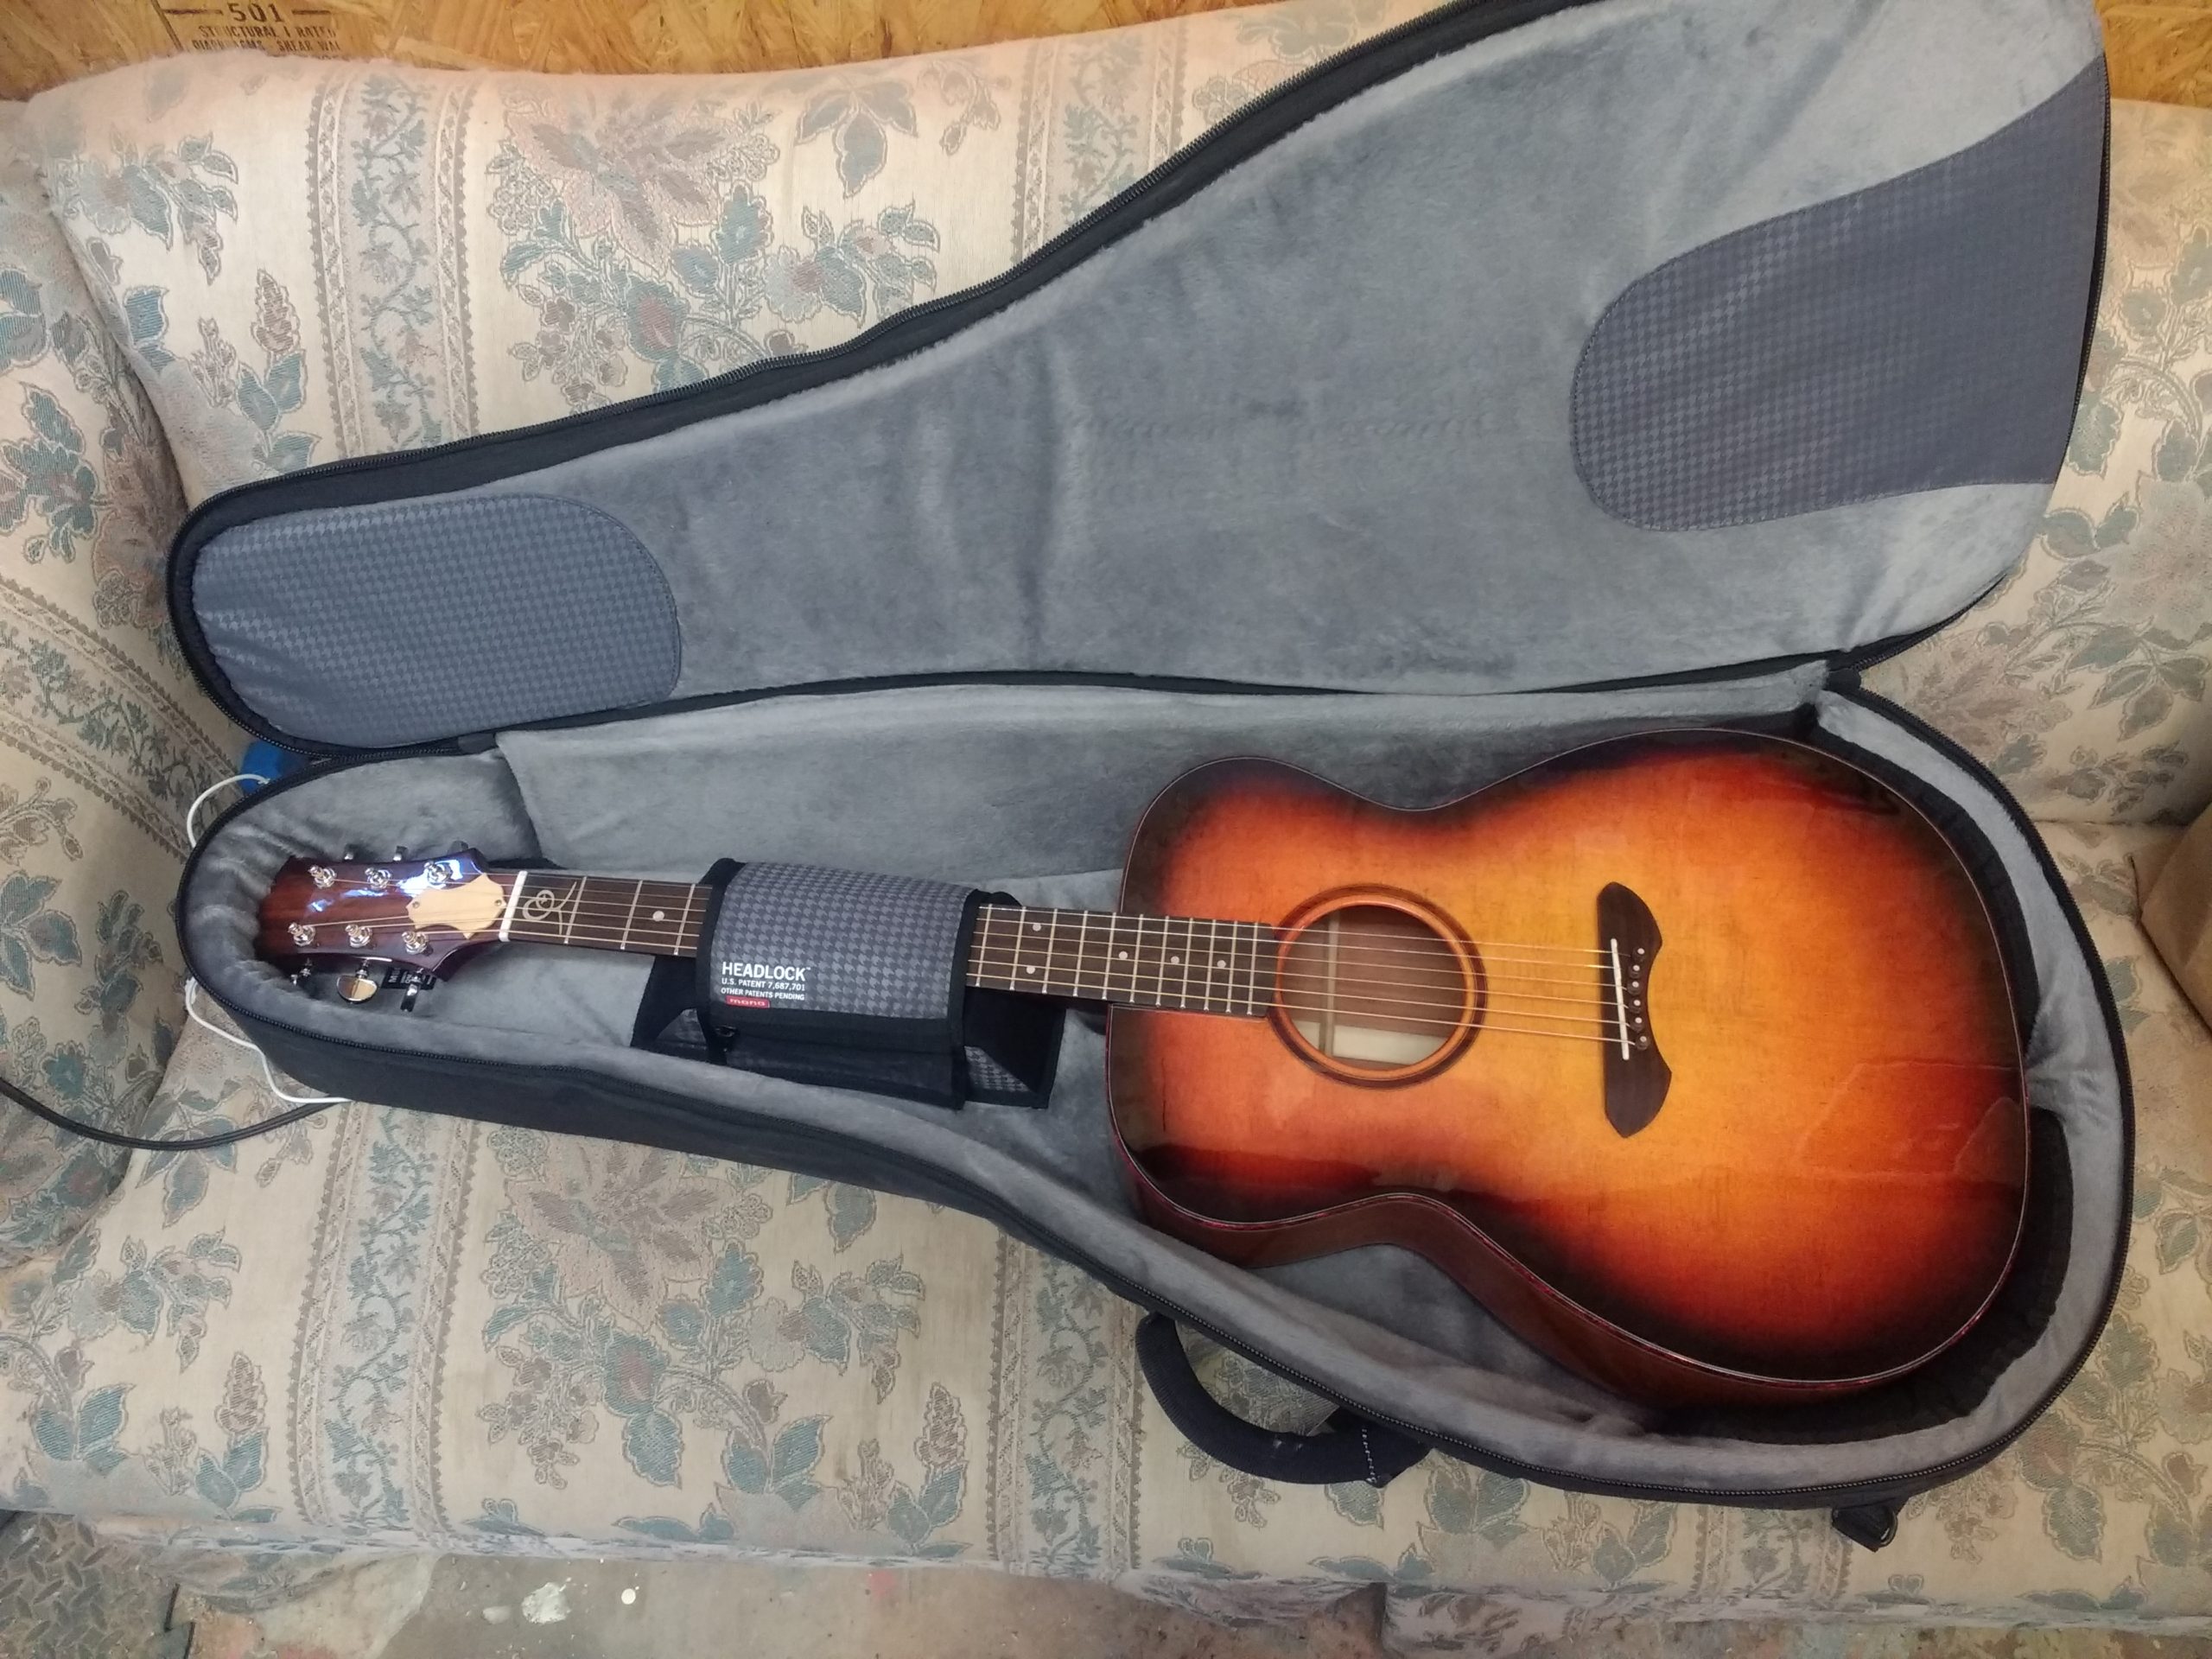
Mono Vertigo Case

Ayah & Asia

Leave a comment

Ah-i-ya

Ah-see-ya

Almost two years ago my wife and I were asked if we could be the dorm “mom and dad” at a high school dormitory.  My wife already taught Spanish classes at the school and I helped with some volunteer work here and there so we were both very familiar with the school, the staff and many of the students.  The two of us and the school are in a very rural part of the Sierra Nevada foothills, meaning that the school isn’t that big and the number of kids we would be watching wouldn’t be that great, six in all.  The fun part is that the kids in the dorms were from all over the world; Hong Kong, Taiwan, Italy,  the Czech Republic, and two sisters from Palo Alto, Ayah and Asia, who’s mom and dad are from Spain and Iraq.  Throw in the fact that my wife is from Argentina and you have got a miniature U.N.!

During our time there I started tinkering around with some new design ideas and some different ways of doing things.  When I asked my wife what should I name them; well, I’ll let you fill in the blank here.

What do you do when you have ideas?  Well in my case, I sit at my workbench staring at a blank sheet of paper.  After a while lines start to form.  It kind of goes back and forth like this for a while.  Lots of staring and thinking followed by drawing. 

I had been wanting to design a couple new body shapes for a while and these are a couple of them.  Since building these two guitars, I’ve built two others which I’ll write about soon.  

I find it interesting how ideas work.  You look at the blank page and what’s there, potential.  Anything can happen.  I spent a good amount of time working on the lines, the curves, the sweeps and turns.  Not too long after completing the first two prototypes (about 2 years ago now) I started to see certain aspects of “my” designs in other luthiers work.  I find it funny how that happens.  I don’t think I am stealing from them or vise versa.  Thoughts are universally rooted, not individually.  This happens to us all.  You have a great idea and then six months later you see your idea!  I know it’s happened to me on several occasions.  Suppose it means I’m doing something right.  Right?…

They are both set neck guitars.  I’ve some builder’s work where they have their set neck extend much further into the body than what you would see normally on a production guitar.  I have always enjoyed this idea.  It makes sense really.  More neck to sit into the body, more strength and more tone transfer from neck to body.  It’s been my opinion for a while now that the “tone” of a guitar, whether it’s dark or bright, the two main tonal distinctions people make in electric guitars, is in the neck wood.  The body wood will contribute, just not nearly as much as the neck will.  So having the neck extend further into the body to me, just makes sense.

Besides the extended neck, the other experiment was wanting a glossy finish on the body with an oiled finish on the neck.  I love oil finishes.  On bodies and especially on necks.  I think they feel nicer, more natural.  That’s an easier combo to make happen with a bolt on neck, but I wanted set necks.  I like them more.  But how does the process go?  Glue in the neck, tape off the neck and finish the body, then oil the neck?   That seemed like a hassle to me. But reading it just now, it doesn’t seem so bad!

What I decided to do was apply the finish to the body and the neck separately and once they were done, glue the neck into the body.  This has its own challenges, mostly being that one must be very careful when glueing the neck into the body.  You’re dealing with lacquer, glue, clamps and clamping cauls.  If you apply too much pressure whilst clamping you could crack the finish or stress it it in some way.  Or if you’re not being careful you might chip or scratch the finish in some way.

Basically, you need to be really careful!

On the third guitar I tried this method out on, the neck to body fit was too tight.  So when I was clamping the neck in place I needed to apply more pressure than I did on these two guitars.  That resulted in a couple stress cracks in the finish.  Lesson learned!

The two necks are both built almost exactly the same.  They are both multi laminate necks; maple, wenge, bubinga and flamed maple.  Ahya has the maple fretboard and Asia has the rosewood fretboard.  On both necks I experimented with making the new widths a little bit wider than standard necks.  The nut width is 1 23/32 ( 1/32 more than a Les Paul nut) and at the last fret 2 5/16 ( 1/16 more than a L.P.). It doesn’t seem like much but boy oh boy does it feel different!  I didn’t think it was going to be that noticeable but it really is.  From various people playing them I learned that either A: you like it or B: you don’t.  

It was funny to me to see who liked the necks the most because it was two very different people.  One was my friend and great jazz guitarist Doug Pauly.  He plays a lot finger picking with his right hand so having a little extra space for him was very comfortable.  He is also  on the taller side with bigger hands so it made sense, to me anyways.  The other person was Raina, a very petite 16 year old!  I was thoroughly surprised to learn that she liked Asia so much she decided to buy it!  

I am constantly fascinated with who buys the guitars I build on spec.  When you build a guitar for someone they are constantly on your mind,  everything you do to the instrument you do with them in mind.  When you build a guitar on spec, you have nobody in particular in mind.  You might have some ideas that you want to try or what have you, but it’s always a mystery as to who will buy the guitar.  And I am always tickled with who ends up buying one.

Besides the different fretboards, one other difference between the necks is the headstocks; one is 3×3 and the other 6 in line.  The last difference is on Ahya’s neck and it is behind the scenes.  When I was making the necks, I had one normal lengthen truss rod and another, much shorter, truss rod.  It was 5 inches shorter which is quite a bit.  I didn’t feel like ordering another truss rod and then waiting the 2-3 days for it to arrive.  I was in a good flow and wanted to keep things movin and groovin.  I was looking around the shop for inspiration when LO! They they were.  Two carbon fiber rods that I bought at some point, many, many moons ago; the purpose for the purchase completely escapes me.  Whatever the reason for buying them, they were about to be used!  I decided to put one rod on either side of the truss rod starting around the fourth fret, extending past the truss rod to the end of the neck.  The truss trod would still be able to perform its duties adjusting the neck’s relief, and the carbon fiber rods would their job and help keep the neck straight and stiff. And to this day, the neck is straight as I want it to be.  The multi laminate neck helps as well.  A more risky experiment would have been to use the shorter truss rod with out the carbon fiber rods.  My guess is that because the neck was made with such strong and stiff woods, it would’ve been fine.  Maybe I’ll try it some day….

Another experiment with these guitars was how I applied the color to the bodies.  I had never finished a guitar red, or blue, or any solid color for that matter.  And I almost did here… while yes, Asia is mostly red and Ahya is mostly blue, there are other shades of reds, blacks, purples and colors in-between.  Some subtle and some not so.  I applied the color directly to the wood with paper towels.  I would mix some pigments with some lacquer thinner and start wiping it on.  It was really fun.  I tried a little on a piece of scope wood to get into the mindset and after 10 or so minutes felt good to try on the bodies.  After I got the color where I wanted, it was lacquer, lacquer, lacquer!

I used Seymour Duncan’s Phat Cats on Asia and Seymour Duncan’s Pearly Gates on Ahya.  I absolutely love the way the Phat Cats sound.  They are clear, crisp but not harsh in any sort of way.  They will cut through the mix but still retain a warmth that I just love.  The pearly Gates are a great set of humbuckers.  They have a lot of cross over appeal; so whether your playing blues, jazz or rock, they will for sure get the job done

And that’s it.  Another day, another couple of guitars. 

Till Next Time!

SPECS

Asia (Ah-see-ya)

-Basswood body, 

-maple/wenge/bubinga/flammed maple/bubinga/wenge/maple neck

-rosewood fretboard

-25” scale

-Seymour Duncan Phat Cat pickups (humbucker sized P-90s)

-Schaller tune-a-matic bridge and stop tailpiece

-Schaller locking tuning keys

-Master volume, master tone and a three way selector switch

-Bone nut, 1 23/32” wide

-2 5/16” wide last fret

-Schaller strap locks

-Tung oiled neck

-Nitro finished body

-Deep set-neck

Ayah (Ah-ya)

-Basswod body

-maple/wenge/bubinga/flammed maple/bubinga/wenge/maple neck

-Figured maple fretboard

-24.750” scale

-Seymour Duncan Pearly Gates set

-Gotoh tune-a-matic bridge with individual string height adjustment and a Gotoh stop tailpiece

-Schaller Di Vinci tuning keys

-Master Volume, master tone, three way selector switch, 2 three way mini switches for series/split/parallel of each pickup.

-Bone nut 1 23/32” wide

-2 516” wide last fret

-Schaller strap locks

-Tung oiled neck

-Nitro finished body

-Deep set-neck. 

Myrtle Top S Series

Leave a comment

Oh yes, the continuation of the “S” Series guitars.  What started off as, “Hey, lets build five of the same guitar.  That’ll be easy!” Has continued into a loooong drawn out journey of, “Mmmm, what to do with this guitar?” Every two to three years or so.  I’m not complaining or anything, it’s just what it is.

To be exact, this is number four out of the five; only one more left!

I was always a bit stuck on choosing hardware for this guitar.  The Myrtle top had this “greyness”  to it that, to me, called for darker hardware choices, but I really don’t like black hardware.  Chrome and gold were too bright, nickle maybe.  And when it came to the pickgaurd, I wanted the material, again, to be dark, but not black.

Sometimes if you wait long enough, assuming of course you have the time to wait, the manufacturers of the world solve your problems for you.  In this case it was with Gotoh’s development of the finish choice, “Cosmo Black”.  This was the solution to my problem, not all of my problems, but, that’s another story….

When it came to choosing a material for the pickgaurd, the choice became pretty clear.  The neck is a five piece Mahogany/Prupleheart neck, so why not use Purpleheart for the pickgaurd?  Add that element to the front of the guitar.  It worked out quite nicely.

When I joined the Myrtle, oh so many years ago, there was a small but noticeable gap towards the butt end of the guitar.  It didn’t go through all the way or anything, but I noticed it, and I’m pretty sure anyone else out there would have noticed it as well.  So what do you do when there is a defect in your wood?  Put an inlay over it!  And continuing with the “dark” theme of the guitar, what better choice of material to use but black mother of pearl.  Being a big fan of both the band Tool and the artist Alex Grey, I thought using their often used “spiritual eye” design would be fun.  A couple drawings later, some shell and wood dust, and bit of epoxy, we have ourselves a nice and simple custom inlay.

Here is the breakdown of all of it’s bits and pieces.

-Chambered Alder body

-Myrtle top

-Five piece Mahogany/Purpleheart set neck

-Ebony fretboard with a 16″ radius and 22 medium/jumbo frets

-Gotoh wrap around bridge

-Gotoh locking tuners

-Seymour Duncan Alternative 8 bridge pickup and a S.D. Jazz neck pickup

-Bone nut

-Schaller strap locks

-Tung oil finish

-And a Mono Vertigo case.

The electronic controls are as follows

-Master volume

-Master tone

-Three way toggle pickup selector switch

-Two mini three way switches for humbucker/single coil/parallel

Peace in and out to you all.

Rick Glass and Mike Halfhill

Leave a comment

This is actually a really old Post.  Somehow it was never posted, but this dates back to around 2013

Mike and Rick are two cool old dudes.  I played in various kirtan groups with both of them throughout the years.  Both are very good musicians whether it be guitar, bass, harmonium or singing; these guys have a deep catalog of musical explorations.

It had been a few years after attending Roberto-Venn since I had built an acoustic guitar.  My shop was slowly growing both in size and in tooling.  The time had come to start building acoustics again!  But alas, I need money to buy the wood and the tuners and the lacquer and the everything I need to build one.  What else to do other than ask a couple of old dudes that have money to let you build them a couple of guitars and all they have to pay for is the materials.  It totally works.  So yeah, I’m not actually making any money, but I am getting back into the groove.  And that was the important thing.

The guitars are straight forward.  The only frills on them are an AUM symbol inlayed at the twelfth fret in abalone and an IBeam Element active pickup system installed in each guitar.

The trickiest thing with these two was figuring out how to bend wood binding by hand.  At R-V we used the side bending machine to bend the sides and the binding all at once, easy breezy.  Now I am bending all my sides by hand with an electric iron which I find really fun to use.  Little did I realize just how wet to get the binding before bending.  Those suckers were breaking left and right!

My initial idea was to make 5 acoustics all at once.  Half way through I was very happy to have only started two builds.  Two was plenty to handle and at times, a little overwhelming.  But I got through the ups and downs and the “What the’s?” and the “You gotta be kidding me’s?” of the process.  I learned what I needed more practice at, what needed more refining and what I want to do differently.

It was good time all the around.

SPECS

-Mahogany back and sides

-Engleman spruce top

-Mahogany neck

-Ebony fretboard and bridge

-Cocobolo binding

-25.5 inch scale

-Lacquer finish on the body and the headstock overlay

-Tung oil finish on the neck

-Grover tuners

-IBeam Element active pickup

Navashen’s OM

Leave a comment

Navashen is one of those dudes you meet, where at first you might think him to be quite, but then you realize he operates in the ultra-mellow mind field where very few things can ruffle his strength in calmness.  In short, he’s a really cool dude.  After seeing a mutual friend’s acoustic I had built, he asked if I would build him one, of course I said I would.  When I asked him what he wanted it to be, all he said was “Ananda.”  A Sanskrit word meaning Divine Bliss; and also the namesake of the spiritual group we both happen to be a part of.  Other than than, it was up to me to make all the decisions.

A few months before he had asked me to build the guitar, my wife and I were in Hawaii visiting family.  While there, my Aunt introduced me to Michael Cone, a classical guitar builder and inventor.  He was kind enough to welcome me into his shop in Maui where he, my Dad and I talked all things guitar for the whole afternoon.  He recommended that I try using Machiche for my backs and sides.  When I mentioned this to Navashen, he told me to go for it, and go for it I did.

I decided to go with a Sitka Spruce spruce top to compliment the Machiche back and sides, a Spanish Cedar neck, Indian Rosewood fingerboard, bridge and pins, a 24.625″ scale, bone nut and saddle, and a nitro cellulose finish.  For the icing on the cake he had me install a K and K FanTaStick Undersaddle Transducer pickup and to keep the guitar good and safe, a Mono M80 case.  Both companies for which I am a dealer, if you happen to be in the market for an awesome sounding acoustic pickup or one of the most well made and conveniently designed cases out there.

I Love the way this guitar sounds.  Rich, full, sparkling highs and full of body.  I will definitely be using this wood combination again in the future.  I think the only things I would like to switch up would to make the body a little bit deeper and try out Macassar Ebony for the fingerboard and bridge; although for this guitar, knowing who it was going to and what it was being used for, it was perfect.

Ukuleles #1 & #2

Leave a comment

These, as the title suggests, are the first ukuleles that I’ve built.  One was built for the Ananda Living Wisdom School Luau Fundraiser Dinner.  Every year the middle/high school boys and girls go on separate service-adventure trips.  That particular year (2017) the boys went to Hong Kong, where one of the students is from, and they worked with his parents on their farm, studied with a calligraphy master, discussed philosophical studies in Chinese medicine, meditated in ancient temples and went on backpacking adventures  through the wild.  Not too shabby for a group of high schoolers!

Each student has to raise money for the trip and in addition, the students put on a number of fundraisers; one of which was a Hawaiian Luau and that’s where the ukulele comes in.  They asked me if I would build a ukulele for them to auction off.  Of course I was delighted to do so.

The mango wood used was a gift from a dear friend of mine Bajrang.  He had collected a large amount of it many years previously, but being too busy restoring classic cars (with the high school girls no less) decided to give it to me.  Yes!

The second ukulele I built for my Dad’s 64th birthday.  I had been working on it, albeit not as much as I should have been, when I realized that he and my Mom were leaving for Hawaii on his birthday at a ridiculous early hour of the morning.  With three days left, and lot more to do, I had myself some late nights in the shop.  The last night was a doozy; with only hours left I pulled an all nighter; but with a lot of meditation and the grace of the cosmos, I got it done with enough time to drive to Sacramento and deliver it to my Dad, and with only 15 minutes before Uber was to pick them up!  Oh what adventures….

Both ukes are basically of the same build; Mango back and sides, spruce top, mahogany neck, rosewood fingerboard, bridge and bridge pins, bone nut and saddle, Grover open gear tuning keys, 17″scale and a Tung oil finish.

They are tenor ukes but on soprano bodies.  The mold I used to shape the bodies was gifted to me by my high school shop teacher, Mr. Zasso my senior year.  For some strange reason my school was shutting down shop class so my senior year was the last year woodshop was going to be available.  Having already built three electric guitars in shop, Mr. Zasso thought in only natural to see if I wanted to take the mold.  I didn’t even know it was there!  It felt great finally using it after all these years.

They may look rather funny with that almost comically large soundhole, but they do sound really good.  Very crisp and clear with a great projection.

I am definitely looking forward to the next ones!

Dhyan’s Dreadnought

Leave a comment

This is Dhyan’s guitar.  Dhyan is a cool dude.  Laid back, super friendly, service-full, teaches meditation, plays in kirtan and likes to play guitar.  I guess that last one is a no-brainer, me being a guitar builder and all.  I suppose I could write about super irritating people who have no Love for music or guitars and are genuinely depressing; some (or all) politicians come to mind….  But alas, I digress, so where was I?  Oh yeah, Dhyan’s guitar.

Well Dhyan’s guitar is pretty straight forward.  A mahogany back and sided dreadnought with a sitka spruce top and a Spanish cedar neck topped with a maccassar ebony fingerboard.  A bone nut and a bone saddle set into a maccassar ebony bridge.  The scale length is 24.750 and the nut width is 1 11/16.

I used tortoise binding with combinations of w/b/w and b/w/b purflings.  It was my first time using tortoise for the end wedge.  I really like the aesthetic look of the plastic tortoise wedge.

This is the second guitar I’ve finished with a water based lacquer.  And, well, meh.  I mean, I think the finish came out nicely.  It’s just that it seems kinda “plastic-y”.  New finish is supposed to burn in well which I did not have much luck with; and that can make touch up work a bit of a bother to say the least.

All in all, I am really happy with how this came out.  A classic shape and classic tone woods make for a real nice sounding guitar.  No wonder people have been using this combination for so long….

Brian Chris Rogers

Leave a comment

You would be hard pressed to find anybody involved in the Sacramento music scene who hasn’t heard of Brian Chris Rogers.  OK, you may not have known his name, but you have most likely seen his face on stage, on TV or heard his voice on the radio.  Brian is one of the finest multi-instrumentalists out there playing with the likes of Joe Kye, The J Band, Izabella, founding member of the “Best Jazz Group” SAMMIE winner four years running Four Guys From Reno, Massive Delicious, Bob’s Child, Justin Ferren, The Nibblers, Random Abiladeeze, The Toyes, and The Coalition.  He’s been on stages opening up in front of thousands in rallies for Bernie Sanders.  He’s toured the country in cars, vans and buses all in the pursuit of musical exploration, camaraderie, and sharing with others what he loves, making music.

In addition to his musical collaborations, Brian is also quite the accomplished solo artist.  Being the passionate soul he is, his gear gets a full workout with each show he puts on.  Whether it be his looping bass wizardry or his (very) percussive acoustic guitar chops; Brian puts his instruments thru their paces.

As far as I know he only as two stringed instruments; his Pedula bass and his Breedlove acoustic.  If he has others, I’ve never seen em; not in my shop, or on stage, or whilst hangin with friends.  I could be wrong, whatever….

Both of these guitars have been through the ringer.  I’m not sure how many times I’ve replaced the output jack of the Pedula, but I have lost count.  If memory serves, he got the Pedula right at the end of our senior year in high school or soon there afterwards.  Most fretted instruments need a fret dressing here, a few fret levels there.  And after 20-30 years you replace the frets.  Not the case for the Pedula.  I think it was about two years ago (ten years into it’s life) I gave it a re-fret, and it needed it….  And as is the case with most re-frets, a new nut was needed as well, bone for this one.  The only other bit that needed replacing was the E string de-tuner, one of those fancy tuners with the lever that drops the low E to a D with a flip of a switch.  Those are neato.

The Breedlove was a fun one to fix up.  Brian’s playing style, as I stated before, is very percussive.  Lots of using the guitar as a drum, creating loops and rhythms to play on top of.  But years of beating upon his guitar soon started to show.  First it was a big crack on the top.  Then braces were falling off the top.  Not cracked braces, or loose braces.  Just straight up braces falling out of his guitar!  At first I just fixed the crack in the top like I always do with some small cleats glued  along the top.  This was before braces started to fall out.  When Brian told me about the brace, it wasn’t just the brace, it my cleats too!  Dude works his guitars….

What I decided to do was basically “inlay” a piece of thin spruce in between the x braces, and the side of the guitar.   There was another section I added spruce to in between an ex brace, lower face brace, and the side towards the butt end of the guitar.  These are the points that he slams into the most. So I figured after one failed attempt at a repair, that these areas really need some reinforcement.  It’s a fine line though from reinforcement to tone sucking piece of wood.  It had to be thin enough, but strong.  I sanded the spruce to .027″ thick and I oriented the grain to be perpendicular to the top.

I was (and am) really happy with the result.  The spruce fit really nicely and it didn’t effect the tone at all.

I don’t know if this goes without saying, but the Breedlove’s frets, yeah I’ve messed with those a lot too.  And now that I think about it, I made a new bone nut and saddle for the Breedlove too.  I almost forgot….

Please do yourself a favor and check out Brian’s musical world.  You will be very happy you did!

https://www.facebook.com/brianrogersmusic/

http://www.brianrogersmusic.com/

https://twitter.com/bchrisrogers

https://www.instagram.com/brianchrisrogers/

http://www.brianrogersmusic.com/epk/

The Bradford Bass

Leave a comment

This is bass build numero uno, and it will definitely not be the last.  The bass was made for a very dear friend of mine Brad.  I have known Brad for a very long time, about 20 years now.  We went to school together, played in bands together, went to festivals together; many good times were had to say the least!

There were a number of reasons to build the bass.  A big one was the fact that I, through an auction, bought much of the remaining supplies from the Modulus guitar shop, R.I.P.  With all this newly acquired hardware, electronics, and wood how could I not build a bass.  Brad, being a fantastic bassist and always supportive of his friends, jumped at the opportunity to have me build the bass.

The first design we drew up was waaaay more complicated than the finished bass.  We had inlayed crystals with light shining through them and floating bridges with custom tailpieces and an electronic system that I would still be figuring out today.  After some more brainstorming we decided to tone it back a few notches and go with something more simple; after all, this was my first bass, the key word there being “first”.  There will be plenty of time to get complicated later on.

The fun thing with the Bradford Bass is that the only thing that didn’t come from Modulus, R.I.P., was the cocobolo top which I had bought from LMI on a whim the previous year.  The alder body, two piece maple neck, fingerboard, pickups, tuners, bridge and the truss rod all came from Modulus, R.I.P.  So technically speaking, this is the first Modulus, R.I.P., bass post Modulus, R.I.P.

As for the bass itself, it is a fairly simple beast.  I say beast because it weighs a lot.  I kept the body rather thick and heavy to make sure it wasn’t going to be neck heavy.  It for sure isn’t neck heavy I can tell you that!  Luckily Brad doesn’t mind a little weight on his shoulder.  As per request, it as a black mother of pearl infinity symbol inlayed on the 12th fret, and that’s it for inlays.  The head stock overlay was fun to do.  It’s cocobolo on the front and the back, but just partially done.  I’ve done similar designs before but just on the back, this is the first time I did it on both the back and the front.  The body has a nitro finish with a sunburst on the back.  The neck is finished with tung oil that makes the neck fell oh so silky smooth.

The pickups are two jazz bass style pickups.  I have no idea where or by whom they were made.  The came from Modulus, R.I.P., and that’s all I know.  Were they made in house?  Were they made by someone else?  It is a mystery.  All I do know is that they sound really friggin good.  The controls are simple; two volumes and two tones.

Bada bing, bada boom.

SPECS

-Alder body

-Cocobolo top

-Maple neck

-I think the fingerboard is nara, but I am not 100% positive

-35 inch scale

-5 Sting with a low B

-Two jazz bass style pickups

-Two volume, two tone controls

-Nitro finish on the body

-Tung oil finish on the neck

-And more neck bolts than I dare count….

Prashad’s OM

Leave a comment

Prashad is a really cool dude, a great singer, wonderful harpist, and a grand guitarist to boot.  Prashad and I live in the same community in the Sierra Nevada foothills of Northern California.  We play a lot of music around here, mostly involving Indian/Western Hindu chants and bhajans and many choir pieces that involve guitar as an accompaniment.  When he asked me to build him a guitar I was first, thrilled and honored to be asked, and second, I knew very well the musical stylings that were going to be played through it.

There were only a few guidelines from Prashad, more like requests.  Prashad isn’t a big dude, and normal sized guitars can be quite fatiguing after a while.  “How can we make this guitar easier to play?” was the question at hand.

So we did three things, the first was give it a smaller a smaller body size, an OM.  He was used to dreadnoughts so this was an obvious choice.  The second was to use a smaller scale, 24.625.  And last but not least, we decided to make the neck join the body at the 12th fret, bringing everything that much closer.  Oh wait a tic, there is a fourth thing. The nut width we narrowed as well, to 1 5/8.

For the kind of music we all play around here, I have always felt that an OM is the most appropriate, great for fingerpicking and accompanying choirs and it holds it’s clarity in a big kirtan setting when being played along with harmoniums, drums, cymbals, tampuras and large groups of people singing along.  The key was to make sure clarity was mixed with warmth and richness, so for the wood selection we went with wenge for the back and sides and cedar for the top.  The neck is mahogany and the fingerboard and the bridge are macassar ebony.  I really enjoyed this wood pairing, a lot.  They all go together very well in a way I would describe as, “Yummy”.  Macassar ebony I have been using a lot lately for fingerboards and is becoming one of my favorites.  It’s fun to work with, it’s looks are absolutely stunning and to my ears, sounds amazing.

There a number of firsts for me on this guitar, as there tends to be.  This was the first OM I’ve had the pleasure of making.  It was also the first time using wenge and cedar.  This will definitely NOT be the last time those three ingredients go together.  This was also the first time making a pinless bridge.  I really like the idea of using a pinless bridge.  Something about not drilling holes through the top seems to make sense to me.  I am mostly happy with the way the bridge came out.  It works just fine, it’s just not as easy to install and remove the strings.  It’s not hard or anything, but some refining will be needed for future pinless endeavors.

The finish on this guitar is also my time using a water based lacquer, KTM9 used along with Aqua Coat’s pore filler.  As of the writing of this I have finished one more guitar with both of these as material choices and my opinions are mixed.  The Aqua Coat pore filler is super easy to use but it took an insane number of coats to fill in all the pores.  That was really irritating.  And as far as the KTM9 goes, it seems like a really nice finish.  It shines to a beautiful high gloss and doesn’t add any unwanted tints.  I still have a bit to figure out with how to apply the finish; I seem to be using much more than others claim to use.  My spray gun is rather old though so maybe that’s it.  It couldn’t be user error now could it?….  The next guitar I plan on using KTM9 on I think I will try an epoxy pore filler.  It seems like a hassle too but a one coat hassle.  A friend of mine also has a much newer spray system that he said I can barrow so we’ll see what happens there.

After all was said and done I put in a B Band pickup under the saddle, and zipped it into it’s new Mono case, which I totally dig, and handed it off to it’s new owner.  It was great fun building it, and as always, it was an honor to be a part of it.

SPECS

-12 fret OM

-24.625 scale

-1 5/8 nut width

-12 inch fingerboard radius

-20 frets

-Wenge back and sides

-Cedar top

-Mahogany neck

-Macassar ebony fingerboard and bridge

-Walnut binding

-Water based lacquer finish

-B Band under saddle pickup

-Mono gig bag